Starting henna can feel a little confusing when you see all the different supplies available. The good news is that you do not need a huge collection to get started. A few simple Henna Tools can make mixing, applying, and practicing much easier.
Whether you want to create simple henna designs on your hands or learn more detailed patterns, having the right supplies helps. It also makes the process less messy.
In this guide, I’ll walk you through 15 essential Henna Tools for beginners. I’ll also explain what each one does and whether you really need it when you are just starting out.
Why the Right Henna Tools Matter
Henna is an art that takes practice. However, the right tools can make learning much easier.
For example, a good henna cone gives you better control over the paste. A fine strainer can help you get a smoother paste. Even something as simple as cotton swabs can save a design when you make a tiny mistake.
You also do not need to spend a lot of money.
Start with the basics. Then, as your skills improve, you can add more Henna Tools to your collection.
15 Essential Henna Tools for Beginners
1. Henna Cones
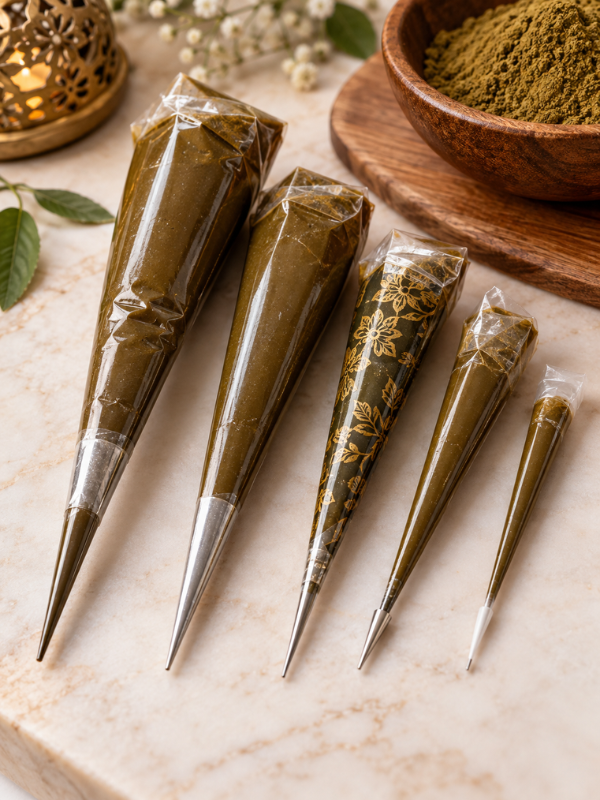
Henna cones are probably the first tool most beginners think about.
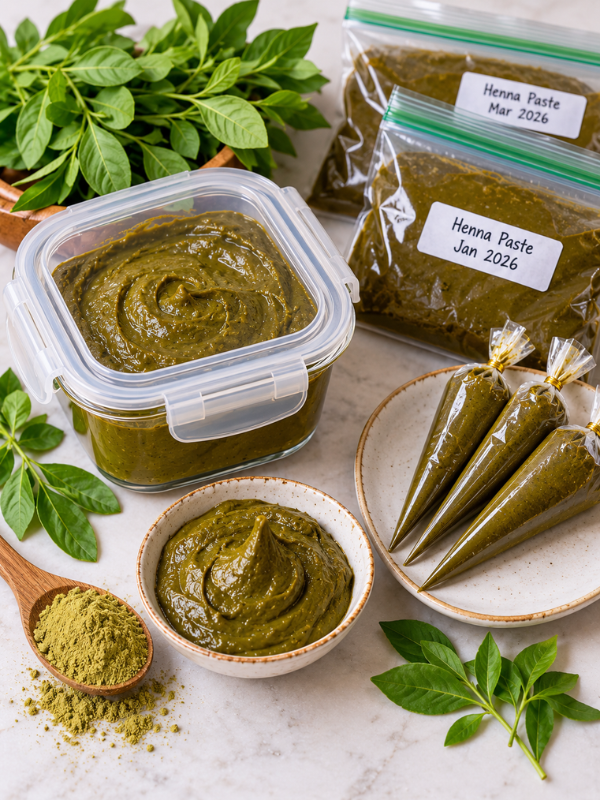
They are small cones filled with henna paste. You squeeze the cone gently to push the paste through the opening. This allows you to draw lines, dots, flowers, leaves, and other patterns.
A good cone should feel comfortable in your hand. It should also have a smooth flow without constantly clogging.
For beginners, cones with a small opening are usually easier to control. A very large opening can release too much paste at once.
If you are buying ready-made cones, make sure they are made with body-art-quality henna.
2. Henna Applicator Bottles
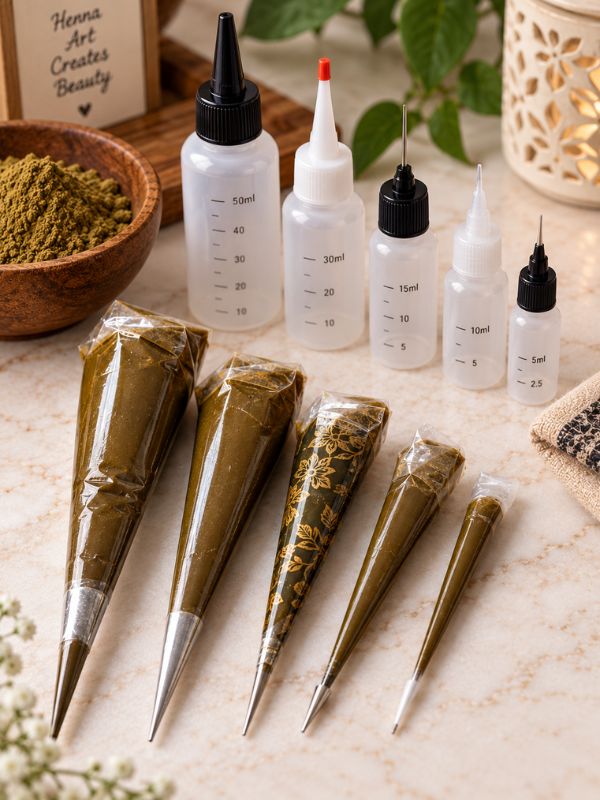
Applicator bottles are another option for applying henna.
They work in a similar way to cones. However, they can be easier to refill and reuse.
These bottles usually come with small tips. You can choose the tip depending on how thick or thin you want your lines to be.
Some beginners prefer bottles because they feel easier to hold. Others like cones because they are lightweight and simple.
There is no need to use both at first. Try one and see which feels more comfortable.
3. Fine-Tip Applicator Nozzles
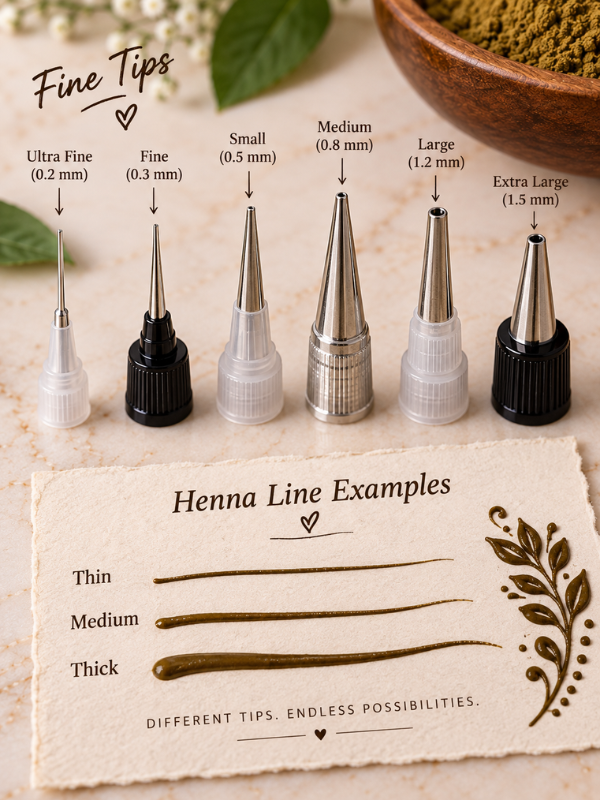
If you use an applicator bottle, the nozzle makes a big difference.
A fine nozzle gives you more control when creating thin lines. This is useful for detailed patterns and small designs.
A wider nozzle is better when you want thicker lines or larger shapes.
Having different nozzle sizes can be helpful. However, one fine tip is enough when you are starting.
The most important thing is to find a size that allows the henna paste to flow smoothly.
4. Henna Powder
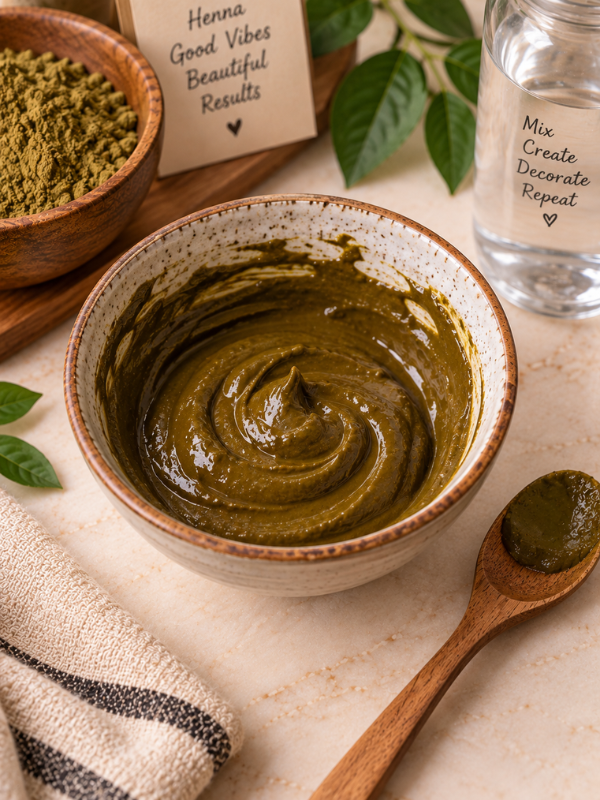
Henna powder is not an application tool, but you cannot create henna paste without it.
Look for henna powder that is specifically intended for body art. It should be fresh and properly stored.
The quality of your powder can affect the texture and staining result of your paste.
Avoid using random hair henna or products that are not intended for skin. Body-art henna is made for this purpose.
If you are mixing your own paste, always follow a reliable recipe and use ingredients that are suitable for skin.
5. Mixing Bowl Henna Tools
A small mixing bowl is useful if you make your own henna paste.
You can use it to combine your henna powder with the other ingredients in your recipe.
A small bowl is usually enough because you do not need to make a huge batch when you are learning.
Choose something that is easy to clean. You can also keep one bowl specifically for your henna work.
This makes your routine much easier.
6. Mixing Spoon or Spatula Henna Tools
Once you have your bowl, you need something to mix the paste.
A small spoon or spatula works well. It helps you combine the ingredients until the paste becomes smooth.
You want to avoid large lumps in your mixture. A smooth paste is easier to push through a cone or applicator.
A small silicone spatula can also be useful because it helps you scrape the sides of the bowl.
You do not need a special henna mixing tool. A clean kitchen utensil can work perfectly well.
7. Fine Mesh Strainer
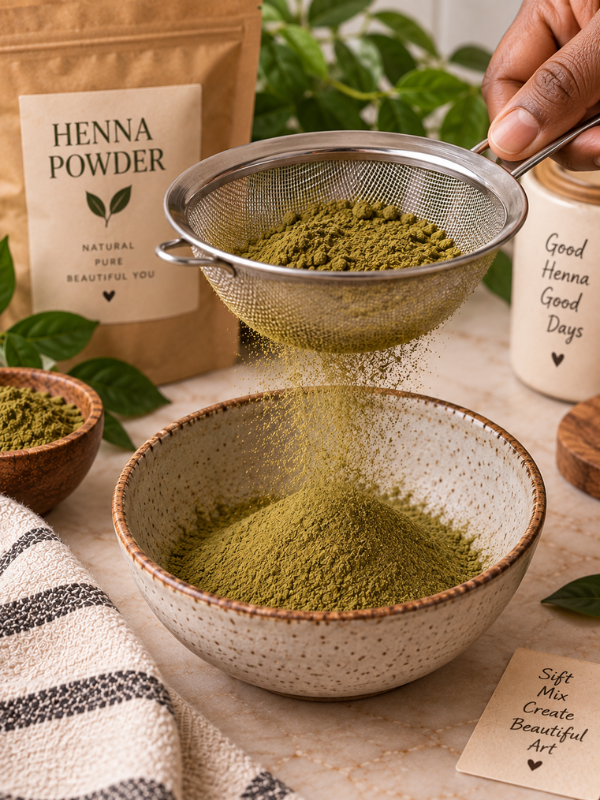
A fine mesh strainer is one of those Henna Tools that beginners may not think about at first.
Henna powder can sometimes contain small pieces of plant material or lumps. These can cause problems when you try to push the paste through a fine cone.
Straining the powder before mixing can help create a smoother mixture.
This is especially useful when you want to create very fine designs.
A simple fine mesh strainer is usually enough. You do not need anything fancy.
8. Skin-Safe Essential Oils
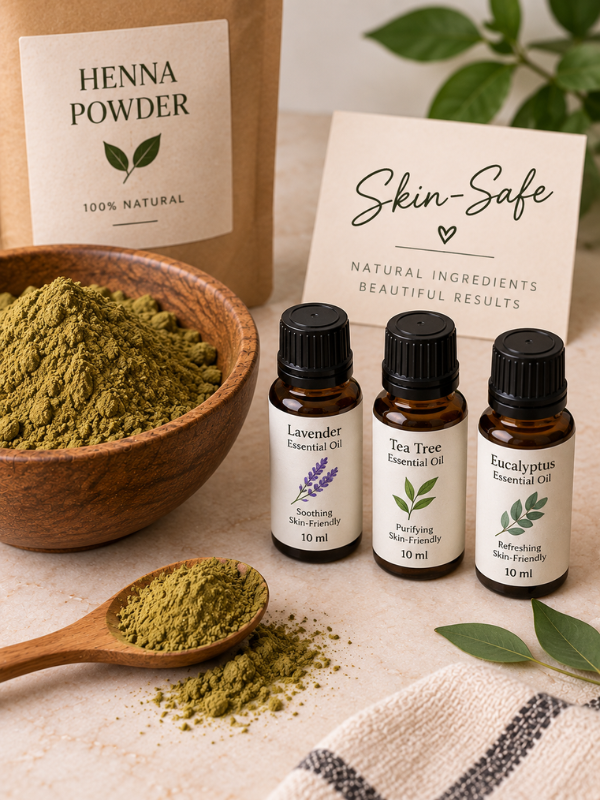
Some henna recipes include essential oils as part of the paste-making process.
However, not every essential oil is suitable for skin.
If you choose to use one, make sure it is appropriate for topical use and follow a trusted recipe. Never assume that an essential oil is safe just because it smells nice.
Also, avoid using ingredients that you know irritate your skin.
If you have sensitive skin, patch testing can be a sensible precaution.
9. Measuring Spoons Henna Tools
Measuring spoons may seem unnecessary, but they can be very helpful when making henna paste.
They allow you to measure your ingredients consistently.
This matters because the consistency of your paste affects how easily it comes out of the cone.
Once you find a recipe that works well for you, measuring the ingredients the same way each time can make your results more predictable.
A basic set of kitchen measuring spoons is all you need.
10. Disposable Gloves Henna Tools
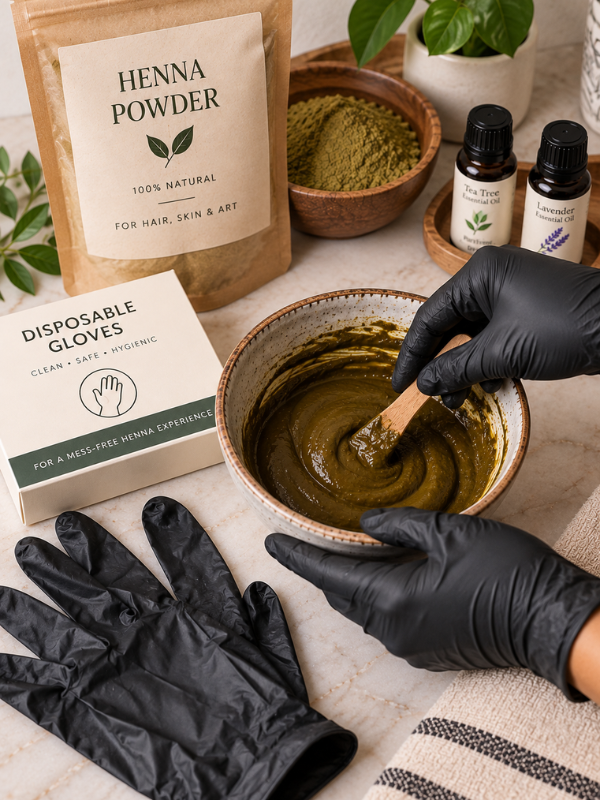
Henna stains skin.
That is one of the reasons gloves can be useful when mixing or handling fresh henna.
Disposable gloves can help keep your hands clean. They are especially useful if you are making several cones or working with a large amount of paste.
They can also help prevent accidental stains on your fingers.
Keep a few pairs nearby whenever you are preparing henna.
11. Cotton Swabs Henna Tools
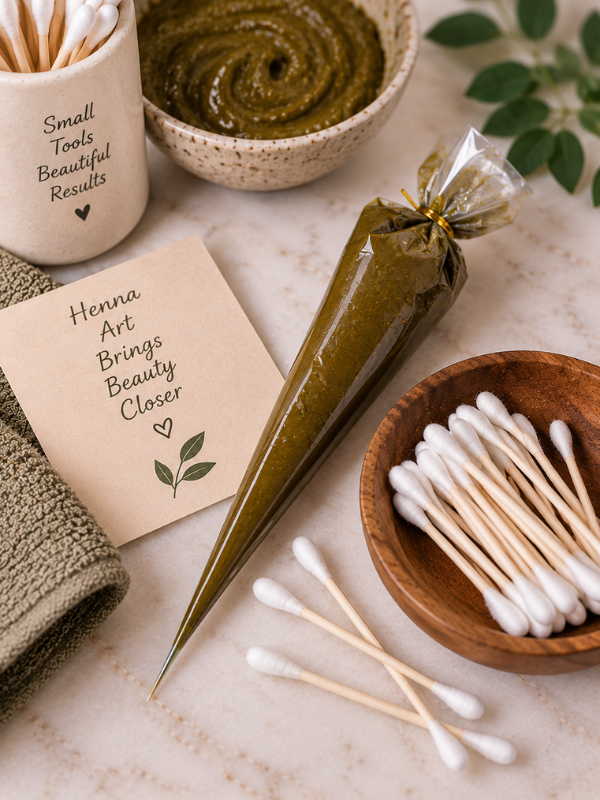
Cotton swabs are small, but they can be surprisingly useful.
Made a tiny mistake?
A cotton swab can help you clean away a small amount of fresh henna before it dries.
You can also use one to clean around the edges of a design.
It is much easier to fix a small mistake while the paste is still fresh. So, keep a few cotton swabs close to your workspace.
12. Paper Towels or Tissues Henna Tools
Henna can get messy.
You may accidentally touch the paste. You may spill a little while filling a cone. You may also need to wipe the tip of your applicator.
That is why paper towels or tissues should always be nearby.
They are inexpensive and easy to replace.
I would keep them beside you before you start instead of having to search for them halfway through a design.
13. Design Practice Sheets
You do not have to practice directly on your skin.
In fact, beginners can learn a lot by practicing on paper first.
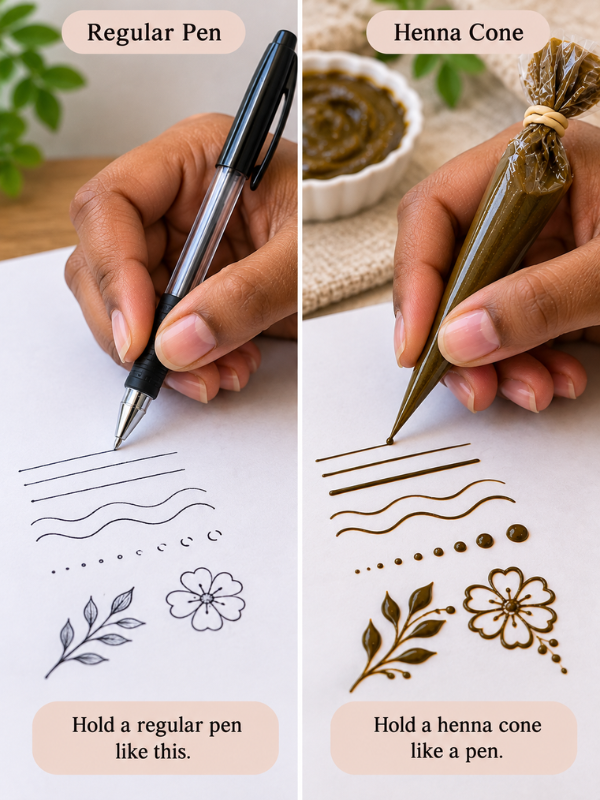
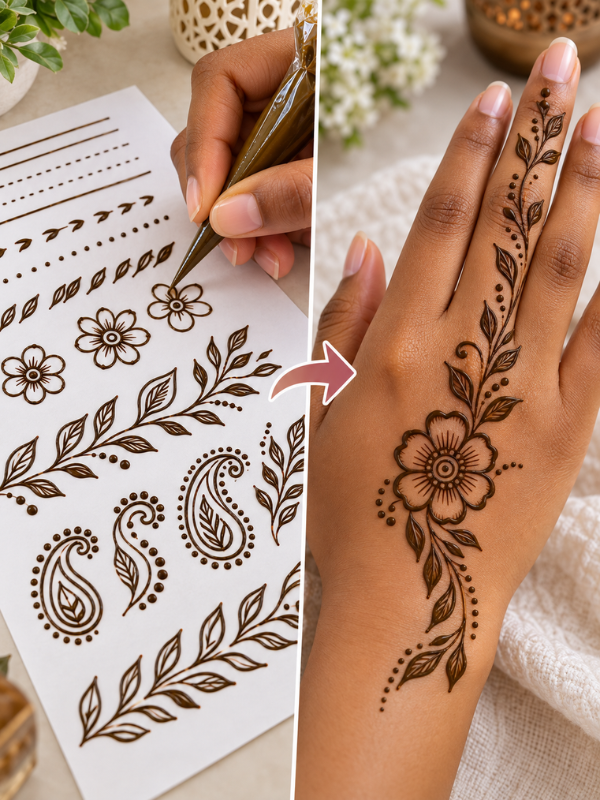
Use plain paper or printable henna practice sheets. Start with basic lines, dots, curves, leaves, petals, and simple flowers.
Practice applying steady pressure to your cone.
You will quickly notice how the pressure of your hand affects the thickness of your lines.
Once your hand feels more comfortable, you can move on to more detailed patterns.
14. Transfer or Tracing Paper
Transfer paper can be helpful if you are not confident drawing designs freehand.
You can use it to practice positioning a design before applying it.
Tracing also gives you a chance to study how different parts of a pattern fit together.
However, do not rely on it forever.
If you want to become confident at henna, spend some time practicing basic shapes and patterns by hand. This will help you develop better control.
15. Plastic Wrap or Medical Tape
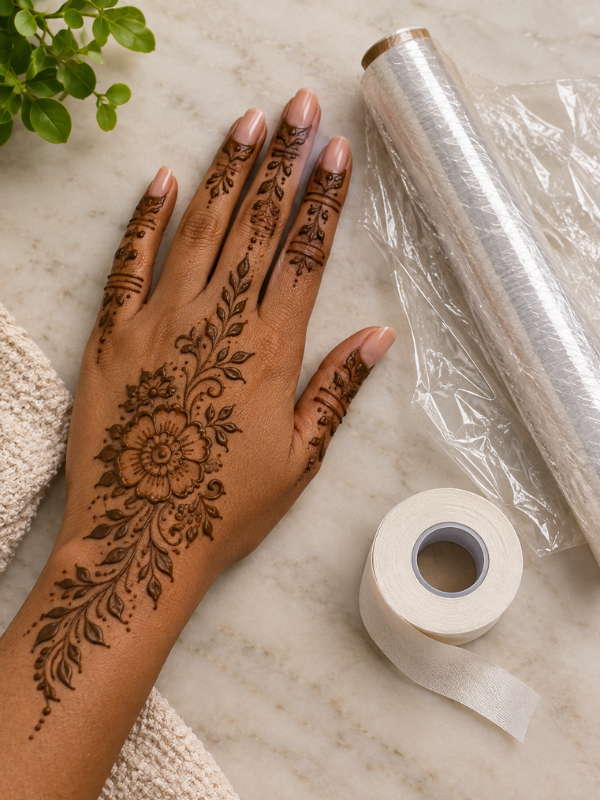
Plastic wrap can be useful for protecting a fresh henna design from accidental rubbing.
Medical tape can also help secure certain materials when you are working with a design.
The goal is simply to keep the area protected and reduce unnecessary movement.
However, do not wrap the skin too tightly. Your skin should remain comfortable.
If you are unsure about how to care for fresh henna, follow the instructions provided with your henna product.
Henna Tools You Actually Need as a Beginner
Looking at all these supplies might make it seem like you need to buy everything.
You don’t.
A simple starter setup can be enough.
Must-Have Tools
If you are just starting, focus on:
- Henna powder
- Henna cones
- Mixing bowl
- Mixing spoon
- Fine mesh strainer
- Gloves
- Paper towels or tissues
These will cover most of your basic needs.
Nice-to-Have Tools
Once you become more comfortable, you can add:
- Applicator bottles
- Fine-tip nozzles
- Measuring spoons
- Cotton swabs
- Practice sheets
These can make your work easier, but you can learn without them.
Optional Tools
Transfer paper and plastic wrap are useful in certain situations. However, they are not things you must buy on your first day.
Start small.
You can always build your collection as you improve.
How to Choose Henna Tools
When buying Henna Tools, focus on quality and comfort.
First, think about the type of designs you want to create. Fine designs require good control and smaller applicator openings.
Next, consider whether you prefer cones or bottles. Both can work well. Your personal comfort matters.
You should also pay attention to skin safety. This is especially important when choosing henna powder, essential oils, and other products that touch your skin.
Finally, do not feel pressured to buy expensive tools.
A simple setup can work very well for a beginner.
Common Mistakes Beginners Make With Henna Tools
One common mistake is using a cone with an opening that is too large.
This can make your lines thick and difficult to control.
Another mistake is using henna paste that is too thick. If the paste cannot flow easily, your cone may keep clogging.
Some beginners also skip practice and go straight to complicated designs. This can make henna feel much harder than it really is.
Start with simple shapes.
You should also clean reusable applicators properly after use. Dried henna can block the tip and make your next session frustrating.
Most importantly, avoid using products that are not intended for skin.
How to Clean and Store Your Henna Tools
Cleaning your Henna Tools after each session will make your next one much easier.
If you use reusable applicator bottles, clean them before the paste dries inside.
Pay special attention to the nozzle. Dried paste can quickly block a small opening.
Keep your mixing bowls, spoons, and other reusable supplies clean and dry.
Unused henna powder should also be stored according to the product’s instructions. Heat, moisture, and poor storage can affect its freshness.
If you use disposable cones, keep unused ones sealed and stored properly.
A little organization goes a long way.
Frequently Asked Questions
What tools do I need to start henna?
You mainly need henna powder or ready-made henna cones, an applicator, a mixing bowl if making your own paste, a mixing spoon, and tissues. Practice paper and cotton swabs are also useful.
Can I make henna designs without a cone?
Yes. You can use an applicator bottle or another suitable applicator. However, cones are popular because they are simple and give you good control.
What is the best henna tool for beginners?
A henna cone is one of the easiest options to start with. It is simple to use and does not require much equipment.
Can I use a regular bowl to mix henna?
Yes. A clean small bowl can work well for mixing henna paste. You do not need a special bowl.
Do I need an applicator bottle for henna?
No. An applicator bottle is optional. Many beginners start with cones and add bottles later if they prefer them.
What size henna cone tip should beginners use?
A small opening is usually easier for beginners because it allows you to create thinner lines and gives you better control.
Can I reuse henna cones?
Disposable cones are generally designed for one-time use. If you want something reusable, an applicator bottle is a better option.
You really do not need a huge collection of Henna Tools to start learning.
Begin with the basics. Get comfortable with your cone. Practice your lines. Learn how much pressure to use.
As you improve, you can add more tools that make your work easier.
The most important thing is not having the biggest henna kit. It is learning how to use the tools you already have.
With a little patience and regular practice, those simple lines and dots can turn into beautiful henna designs.
This Post Showed You 15 Essential Henna Tools for Beginners
You many also like:
What Is Henna? A Beginner’s Guide to Henna Art
2 Comments