Learning henna can be exciting, but drawing directly on skin can feel a little scary at first. If you are wondering how to practice henna designs before working on your hands or someone else’s skin, the good news is that you have plenty of simple options. With regular practice, you can improve your lines, dots, curves, and overall control before trying a complete design.
You do not need to create complicated bridal henna right away. In fact, starting with simple shapes is one of the best ways to build your skills. The more you practice, the more comfortable the henna cone will feel in your hand.
Why You Should Practice Henna Designs First
Practicing before drawing on skin gives you time to understand how your henna cone works.
It also helps you learn how much pressure to use. Too much pressure can make your lines thick and messy. Too little pressure can make the paste break or stop flowing.
Regular practice can also help you:
- Improve your cone control.
- Create smoother lines.
- Make more even dots.
- Practice curves and swirls.
- Understand how quickly the paste comes out.
- Improve your spacing.
- Feel more confident when working on skin.
Most importantly, practice gives you room to make mistakes without worrying about ruining a real henna design.
What You Need to Practice Henna Designs
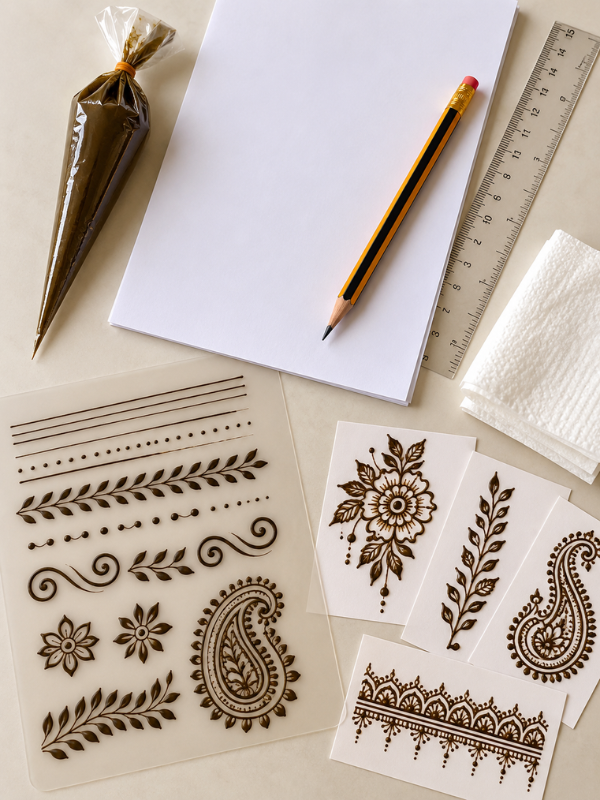
You do not need a lot of supplies to get started.
A few basic items are enough. You can use:
- A henna cone.
- Plain white paper.
- A notebook or sketchbook.
- A plastic sheet.
- Tissue or paper towels.
- A pencil.
- A ruler for simple guidelines.
- A practice board or artificial hand if you have one.
Plain paper is a great place to begin. However, you can also experiment with a plastic sheet once you feel more comfortable.
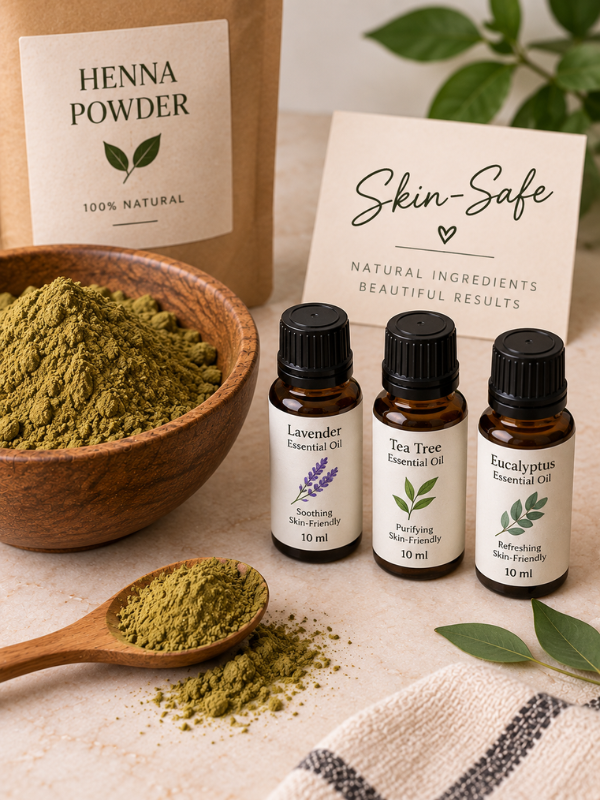
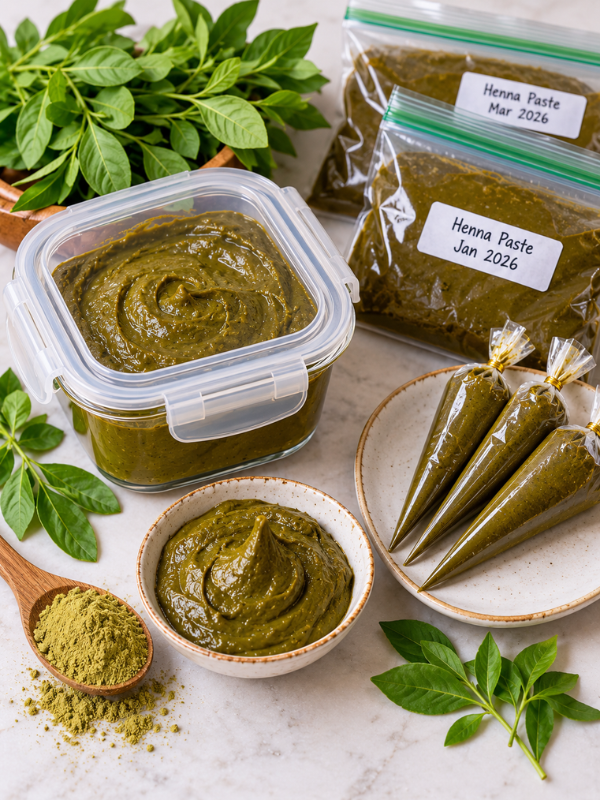
If you are using actual henna paste, make sure it is suitable for skin. Avoid unknown products that contain unsafe dyes or chemicals.
How to Practice Henna Designs Step by Step
The easiest way to improve is to break henna designs into small parts.
Instead of trying to copy a full hand design, practice one shape at a time.
1. Start With Straight Lines
Straight lines may look easy, but they can be surprisingly tricky.
Start by drawing short lines. Then slowly make them longer.
Try horizontal lines first. After that, practice vertical and diagonal lines.
Pay attention to your pressure. Try to keep the paste flowing at the same speed from beginning to end.
You can also practice thin lines beside thicker lines. This will help you understand how pressure changes the size of your line.
2. Practice Dots
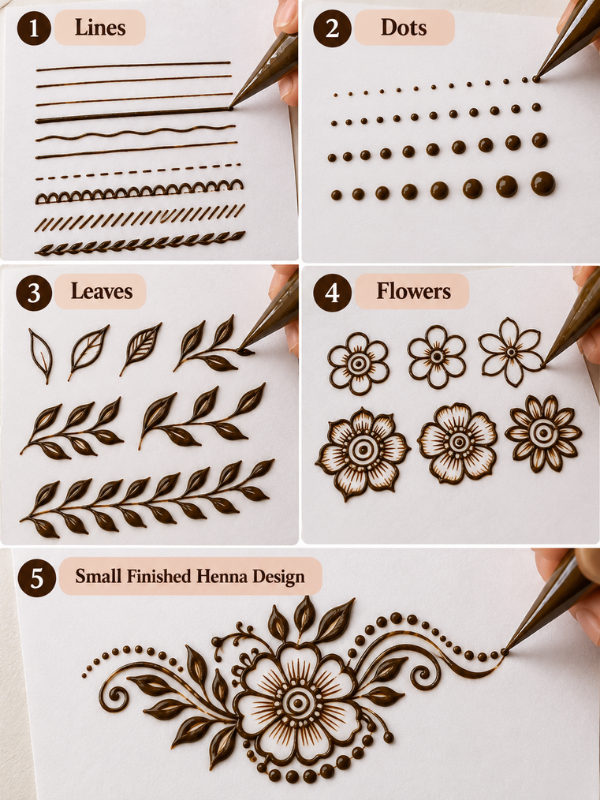
Dots are one of the most common parts of henna designs.
Start with tiny dots. Then make medium and larger dots.
Try creating rows of dots. Keep the spacing as even as possible.
You can also practice making a circle of dots around a small flower or mandala.
Do not worry if your dots are not perfect at first. Your goal is to become comfortable controlling the amount of paste that comes out.
3. Practice Curved Lines
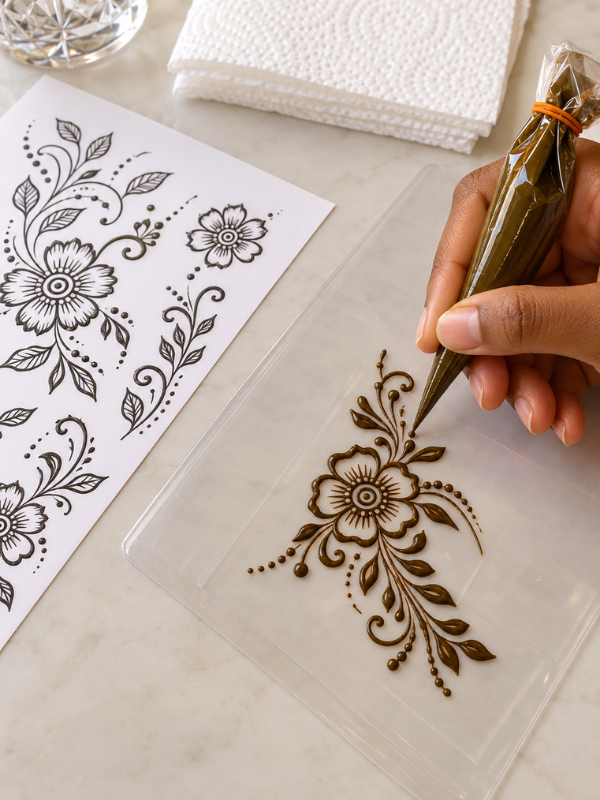
Once you feel comfortable with straight lines, move on to curves.
Draw gentle curves across the page. Then try S-shaped lines and small waves.
Keep your hand relaxed as you move the cone.
Try not to stop in the middle of a curve. A smooth movement usually creates a cleaner result.
4. Practice Spirals and Swirls
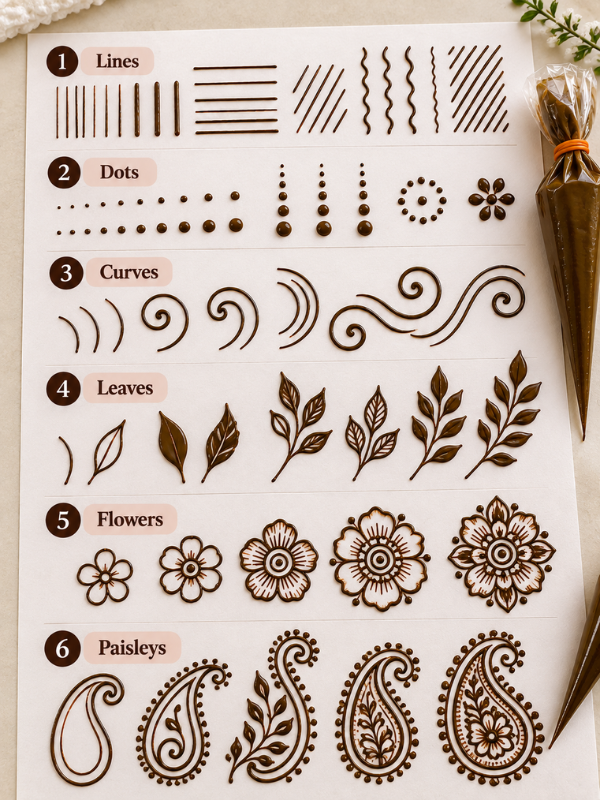
Spirals are another useful henna skill.
Start with small spirals. Make them slowly at first.
Once you get comfortable, try larger swirls.
Practice moving the cone in both directions. This can help you become more comfortable when creating designs on different parts of the hand.
5. Practice Leaves
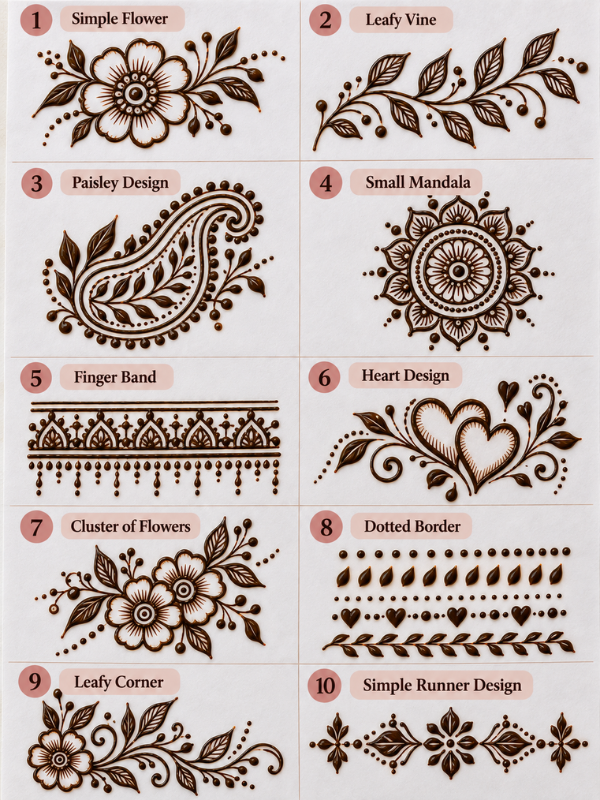
Leaves are simple but very useful in henna.
Start with a small curved stem. Then add simple leaf shapes along the sides.
Try making the leaves pointed at the ends.
You can also change the size of the leaves. Make some small and some larger.
After a while, try connecting several leaves into a simple vine.
6. Practice Flowers
You do not need to start with detailed flowers.
Begin with a simple five-petal flower.
Practice making the petals similar in size. Then add a small center.
Once you feel comfortable, try adding dots or tiny lines inside the petals.
You can also experiment with flowers that have more petals.
7. Practice Paisleys
Paisleys are another important part of many henna designs.
Start by drawing a simple teardrop shape.
Then add a few lines inside it.
You can add dots, leaves, curves, or small flowers as you improve.
Do not worry about making the paisley very detailed. A clean and simple shape is better than a complicated design that feels difficult to control.
8. Practice Vines and Floral Trails
Vines can make a henna design look more connected.
Start with one curved line. Then add small leaves along the curve.
After that, add a small flower or paisley.
Try changing the direction of your vine. You can make it curve upward, downward, or around another motif.
This is also a good exercise for learning how to make your designs flow naturally.
Practice Common Henna Patterns
After practicing individual shapes, start combining them.
For example, you can create:
- Floral borders.
- Leafy vines.
- Simple mandalas.
- Paisley patterns.
- Finger bands.
- Bracelet-style designs.
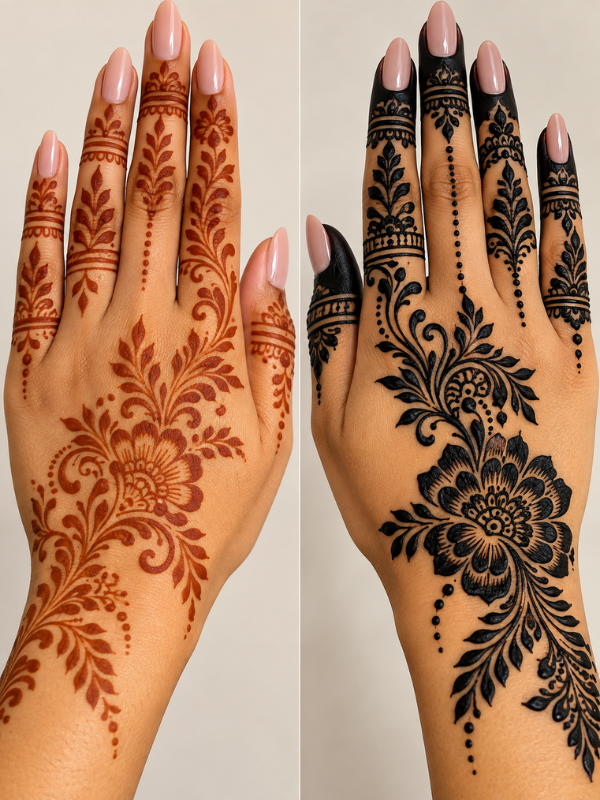
- Arabic-inspired floral trails.
- Geometric patterns.
Start with one small combination.
For example, try a flower with two leaves and a few dots. Once that feels easy, add another element.
This is a much easier way to learn than jumping straight into a large design.
Practice Henna Designs on Different Surfaces
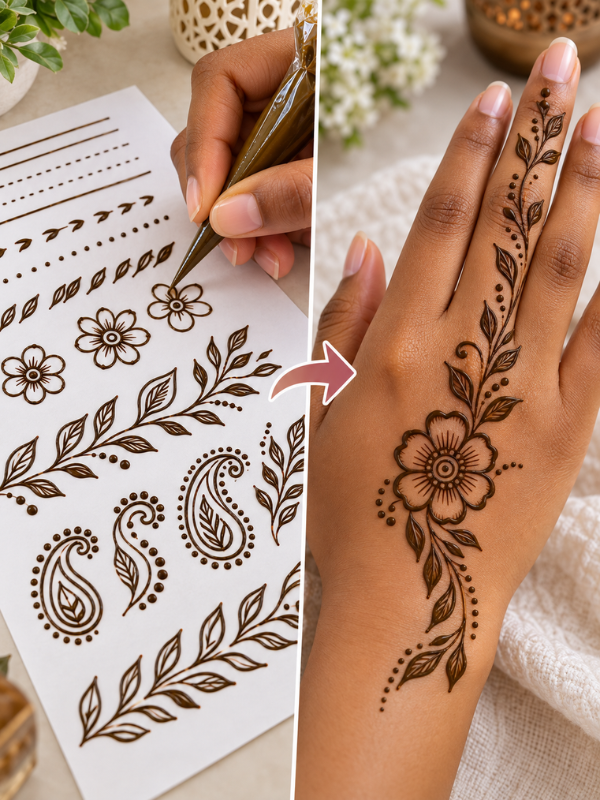
Paper is usually the easiest surface for beginners.
However, you can try other surfaces as your skills improve.
A plastic sheet can give you a different feeling because the cone may move more easily across it.
You can also use a practice board or artificial hand.
Each surface feels slightly different. Therefore, practicing on more than one surface can help you adjust your pressure and cone movement.
However, always practice safely when using actual henna paste. Do not apply an unfamiliar product to your skin just because it is labeled as henna.
How to Practice Henna Designs for Better Cone Control
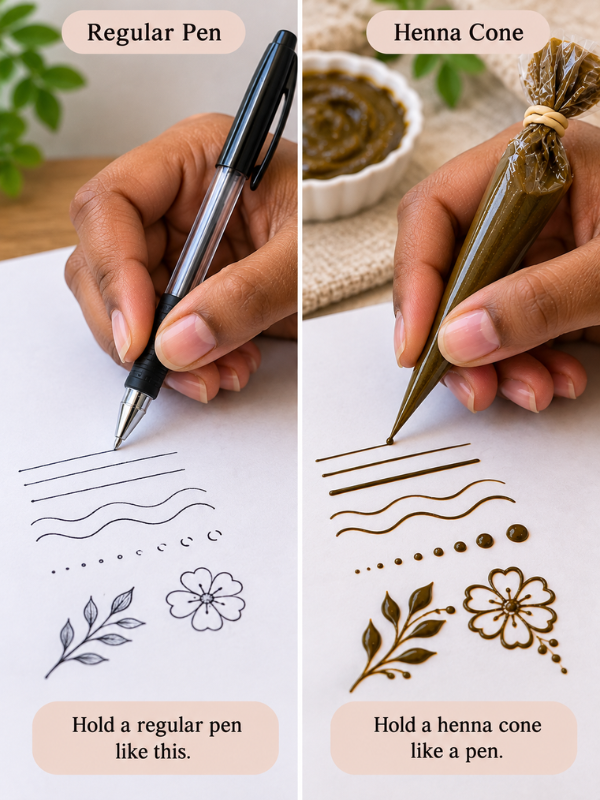
Cone control is one of the biggest skills you need to develop.
Start by holding the cone comfortably. You should not grip it too tightly.
Place your fingers in a position that feels natural. Then gently squeeze the cone.
Watch how the paste comes out.
If too much paste comes out, reduce the pressure. If the line keeps breaking, you may need slightly more pressure or a smoother movement.
Your hand should also stay relaxed.
When your hand becomes tired, take a short break. There is no need to rush.
With time, you will begin to understand how much pressure you need for thin lines, thick lines, and dots.
Try Copying Simple Henna Designs
Copying simple designs can be a useful practice exercise.
Choose a beginner-friendly design. Then break it into small sections.
For example, you might start with the center flower. Next, add the leaves. Then work on the dots and small details.
Do not worry about making it exactly the same.
Instead, pay attention to how the design is built.
Look at the direction of the lines. Notice the spacing. Pay attention to how the different shapes connect.
This will help you understand design structure instead of simply memorizing patterns.
Practice Symmetry and Spacing
Good spacing can make a simple henna design look much cleaner.
Try drawing two similar flowers beside each other. Then compare the size of the petals.
You can also practice making rows of dots with equal spaces between them.
For symmetrical designs, use a light pencil guideline if you need one.
However, do not become too focused on making everything perfectly identical. Handmade henna has its own charm.
The goal is to make your design look balanced and intentional.
Create a Simple Henna Practice Routine
You do not need to spend hours practicing every day.
Even 10 to 15 minutes can be useful when you practice consistently.
You can create a simple routine like this:
First 5 minutes: Practice straight lines, curves, and dots.
Next 5 minutes: Practice leaves, flowers, and paisleys.
Last 5 minutes: Combine the shapes into a small design.
Repeat this routine several times a week.
You can also keep your practice pages. This makes it easier to see how your skills improve over time.
You may be surprised when you look back at your first few pages.
Common Mistakes When Practicing Henna Designs
Beginners often make the same mistakes.
One common mistake is squeezing the cone too hard. This usually creates thick lines and excess paste.
Another mistake is moving the cone too quickly. Slow movements can give you better control while you are learning.
Some beginners also try complicated designs too soon.
There is nothing wrong with starting small.
You should also avoid practicing only complete designs. Basic lines, dots, and curves are just as important.
Most importantly, do not become frustrated when your first attempts look messy. Every henna artist starts somewhere.
When You Are Ready to Practice on Skin
There is no exact number of days you need to practice before working on skin.
Instead, look at your level of control.
You may be ready to try a small design when you can:
- Make steady lines.
- Control the amount of paste.
- Create clean dots.
- Make smooth curves.
- Draw basic leaves and flowers.
- Complete a simple design without constantly stopping.
When you are ready, start small.
Try a simple flower or small vine instead of a full-hand design.
This gives you a chance to understand how the cone feels on skin without putting too much pressure on yourself.
Tips for Making Your Henna Practice More Effective
The key to improving is repetition.
Practice the same shapes more than once. If your leaves look uneven, draw another row of leaves.
If your lines are too thick, practice lighter pressure.
You can also take photos of your practice designs. This makes it easier to compare your progress.
Another useful tip is to focus on one skill at a time.
For example, spend one practice session working mainly on lines and curves. The next session can focus on flowers and leaves.
Most importantly, do not compare your first attempts with the work of someone who has been practicing for years.
Give yourself time.
Beginner Henna Practice Designs to Try
Once you know the basic strokes, try these simple designs:
- Small five-petal flowers.
- Simple leaf vines.
- Basic paisleys.
- Small mandalas.
- Dotted borders.
- Finger bands.
- Simple bracelet patterns.
- Floral trails.
- Heart motifs.
- Small Arabic-inspired designs.
Start with one or two.
Then slowly combine them into larger designs.
This will help you build your skills without feeling overwhelmed.
Frequently Asked Questions
How long should I practice henna before using it on skin?
There is no fixed amount of time. Practice until you feel comfortable controlling the cone and creating basic lines, dots, and shapes. For some beginners, this may take a few sessions. For others, it may take longer.
What can I use to practice henna designs?
You can practice on plain paper, plastic sheets, practice boards, or artificial hand models. Paper is usually the easiest option when you are just starting.
Can I practice henna designs on paper?
Yes. Paper is one of the easiest surfaces for beginners. It allows you to practice your cone pressure and basic shapes without worrying about working on skin.
How do I get better at controlling a henna cone?
Practice slowly and use gentle pressure. Work on straight lines, curves, dots, and spirals. With regular practice, you will become more familiar with how much pressure the cone needs.
How can I make my henna lines thinner?
Use less pressure and keep the cone moving steadily. You can also make sure the cone opening is small and suitable for fine lines.
What are the easiest henna designs for beginners?
Simple flowers, leaves, vines, dots, paisleys, and small mandalas are good places to start. These designs are made from basic shapes that are easy to repeat.
When should I start practicing henna on skin?
Start when you feel comfortable controlling your cone on another surface. When you do move to skin, begin with a small and simple design rather than a complicated full-hand pattern.
Summary
Learning henna takes practice. You do not have to create perfect designs on your first attempt.
Start with the basics. Practice lines, dots, curves, leaves, flowers, and paisleys. Then slowly combine these shapes into complete designs.
The best way to learn how to practice henna designs is to keep your practice simple and consistent. Even a few minutes of practice can help you improve your cone control and confidence.
So, grab your cone, pick up some paper, and start practicing. Your first design may not be perfect, and that is completely okay. Every messy line is part of getting better.
This Post Showed You How to Practice Henna Designs Before Drawing on Skin
You may also like:
How to Fix a Henna Design Mistake Without Ruining It
How to Make Henna Last Longer and Keep Your Stain Dark
One Comment