Making a mistake while doing henna can be frustrating. One wrong line, a small smudge, or a dot in the wrong place can suddenly make you feel like the whole design is ruined. However, do not panic just yet. There are simple ways to fix henna mistakes without starting over.
The trick is knowing when to correct the mistake and when to work around it. Fresh henna paste is much easier to fix than a stain that has already developed. Therefore, the sooner you notice the mistake, the easier it is to deal with it.
Whether you are practicing a simple pattern or creating a detailed design, these tips can help you fix small henna mistakes and keep your design looking neat.
Can You Fix a Henna Mistake?
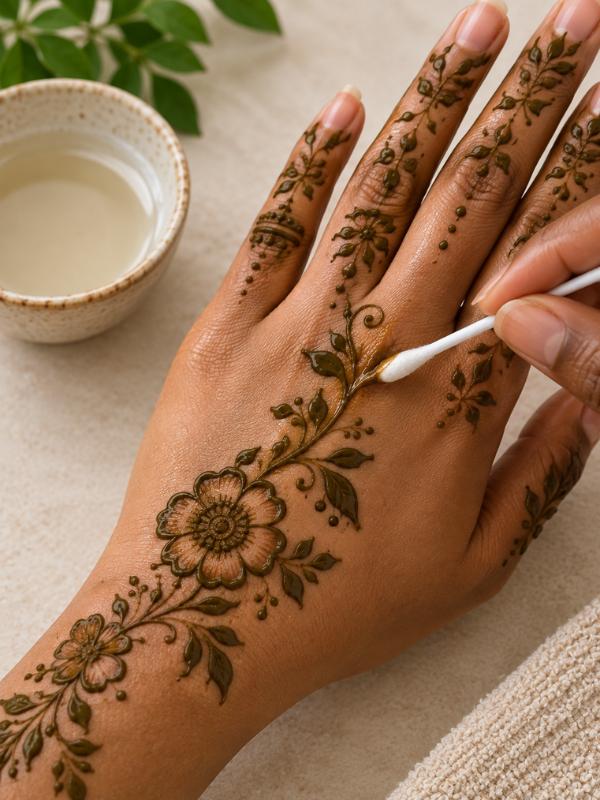
Yes, you can fix some henna mistakes.
However, the method depends on how fresh the henna is. If the paste is still wet, you have more options. You can carefully remove the wrong line and redraw it.
If the paste has dried, things become a little different. At that point, you may need to work around the mistake instead of trying to remove it completely.
Once henna has stained the skin, you cannot simply erase the stain. The best option is usually to let it fade naturally or add more details around the area.
Most importantly, do not panic. Small imperfections are normal with hand-drawn henna designs.
Fix Fresh Henna Before It Dries
Fresh henna is the easiest to correct. If you notice your mistake while the paste is still wet, try to fix it right away.
Gently Remove the Wrong Line
Use a clean cotton swab to pick up the unwanted henna.
You can also use the corner of a tissue for a slightly larger mistake. Be gentle, though. You do not want to smear the paste into other parts of your design.
Avoid rubbing the area back and forth. This can make the mistake even bigger.
Clean the Area Around the Mistake
Once you remove the unwanted paste, check the skin around it.
If there is still a little henna left, gently clean it away. The area should be as clean as possible before you redraw the design.
Give the skin a moment to dry. Then, you can continue.
Redraw the Design
Now you can carefully redraw the line.
Try using less pressure on the henna cone this time. Too much pressure can make the paste come out too quickly.
Take your time. A slow and steady hand usually gives you better control.
What to Do When Henna Smudges
Smudging is one of the most common henna mistakes.
It can happen when your hand touches wet paste. It can also happen when clothing, hair, or another object brushes against the design.
If the henna is still wet, remove the smudged section as carefully as possible.
Do not wipe across the entire design. Instead, focus only on the messy area.
Once the area is clean and dry, you can redraw the missing part.
If the smudge is very small, you may not even need to remove it. Sometimes adding a few dots or small leaves around it can make the area look intentional.
How to Fix a Henna Line That Is Too Thick
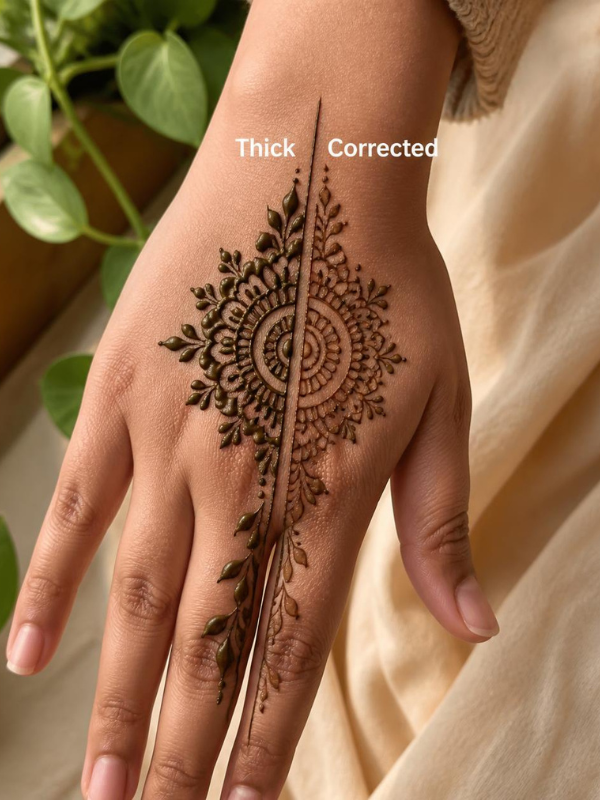
Sometimes a henna line comes out much thicker than you wanted.
This can happen when you squeeze the cone too hard. It can also happen when the cone opening is too large.
If the line is still wet, you can carefully remove it and redraw it.
But if it has already started drying, avoid scraping it aggressively.
Instead, think about how you can use the line as part of the design.
For example, you can add small leaves beside it. You can also add dots or another curved line.
This can help the thicker line blend into the rest of the pattern.
How to Fix a Crooked Henna Line
A crooked line does not always need to be removed.
In fact, you can often turn it into part of the design.
If a straight line becomes slightly curved, extend the curve. Add a few leaves or small dots along it.
You can also create a similar curve on another part of the design. This can make the pattern look more balanced.
Remember, henna does not have to look like it was drawn with a ruler.
The goal is to create a design that looks beautiful as a whole.
How to Cover a Small Henna Mistake
One of my favorite ways to fix henna mistakes is to cover them with another design element.
A small mistake can often become a new detail.
For example, you can add:
- Small flowers
- Leaves
- Dots
- Paisley shapes
- Curved vines
- Tiny petals
- Decorative borders
Let us say you accidentally make a dot too large. Instead of trying to remove it, you could turn it into the center of a small flower.
A slightly uneven line could also become part of a vine.
This works especially well with floral and Arabic-style henna designs because they already contain many flowing details.
How to Fix Henna Mistakes After the Paste Dries
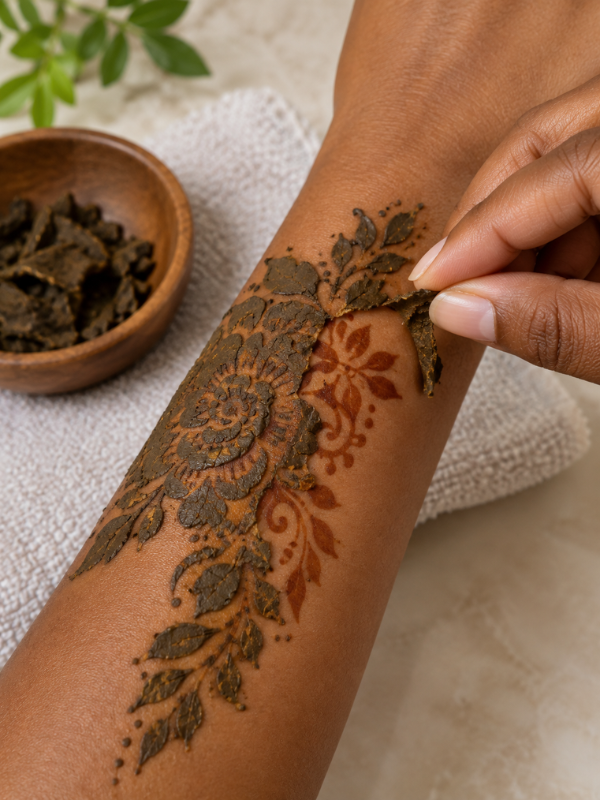
Once the henna paste dries, you need to be more careful.
Do not scratch the skin just to remove a small mistake. You could irritate your skin, and you may also disturb the rest of the design.
If a piece of dried paste is sitting where it should not be, you can gently loosen it.
Do not force it.
After removing the dried paste, check the stain underneath. You may notice that the skin has already started to change color.
At this point, it may be better to leave the area alone and work around it.
Can You Remove a Henna Stain Mistake?
Unfortunately, a henna stain is not as easy to remove as wet paste.
Once the dye has stained the skin, you cannot simply wipe it away.
Henna stains usually fade gradually as the skin naturally sheds. The speed can vary depending on the area of the body and how long the stain has been developing.
You may be tempted to scrub the area hard. However, this can irritate your skin without instantly removing the stain.
Instead, be patient.
If the mistake is small, you can also add another design around it while the stain fades.
How to Hide a Henna Stain Mistake
Sometimes the easiest fix is to make the mistake part of the design.
For example, if you have a darker spot in one area, add a few more small details around it.
You could create:
- A small flower
- A cluster of dots
- A leaf
- A paisley
- A curved border
- A larger decorative pattern
The goal is not to make the mistake disappear completely.
Instead, you want the finished design to look balanced.
This is especially helpful when the stain has already developed and cannot be removed.
Common Henna Mistakes Beginners Make
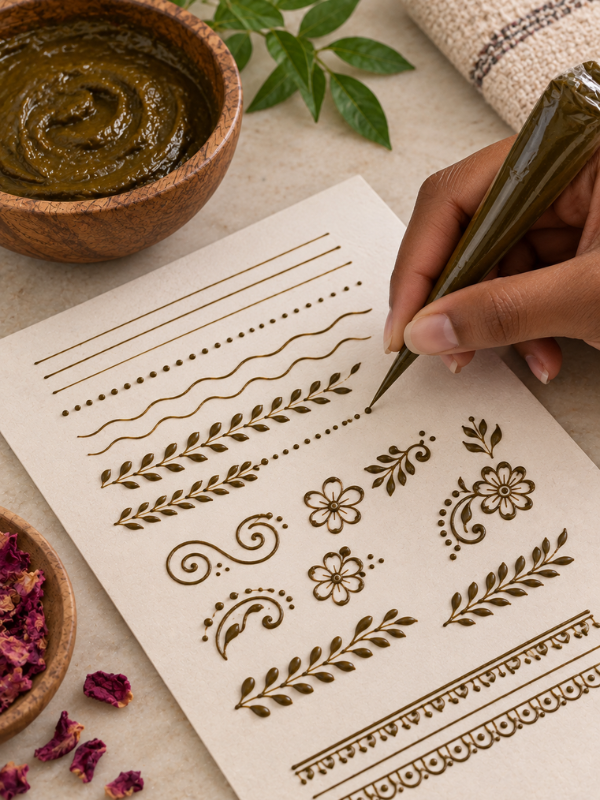
If you are new to henna, a few mistakes are very common.
Using Too Much Pressure
Squeezing the cone too hard can release too much paste.
Try using gentle pressure instead. You can always make a line thicker later.
Making Lines Too Thick
Thick lines can make a delicate design look messy.
Practice controlling the cone on paper before applying henna to your skin.
Moving the Cone Too Quickly
Moving too fast can make your lines uneven.
Slow down, especially when working on curves and small details.
Touching Wet Henna
This is probably one of the easiest mistakes to make.
Give yourself enough space to rest your hand without touching the fresh design.
Trying to Fix Everything
Sometimes trying to correct every tiny imperfection can make the design worse.
If a mistake is very small, leave it alone or work around it.
How to Prevent Henna Mistakes
Prevention is always easier than correction.
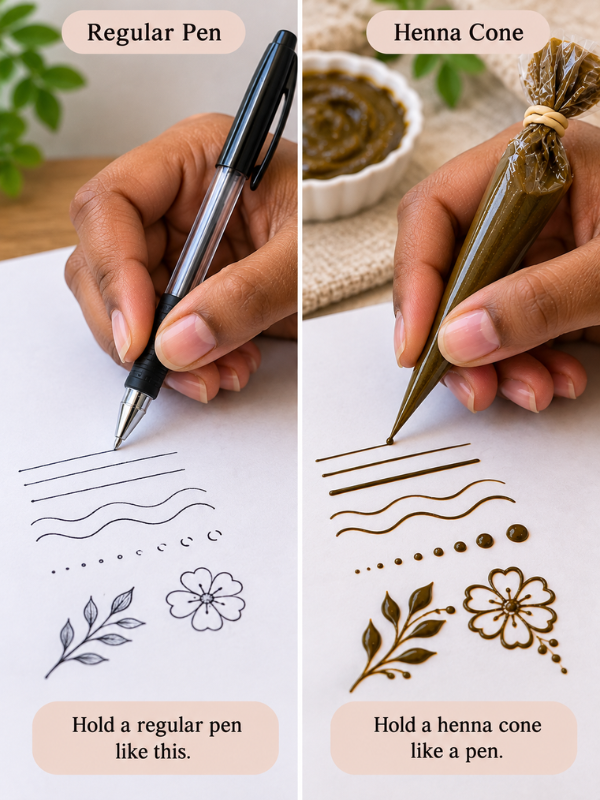
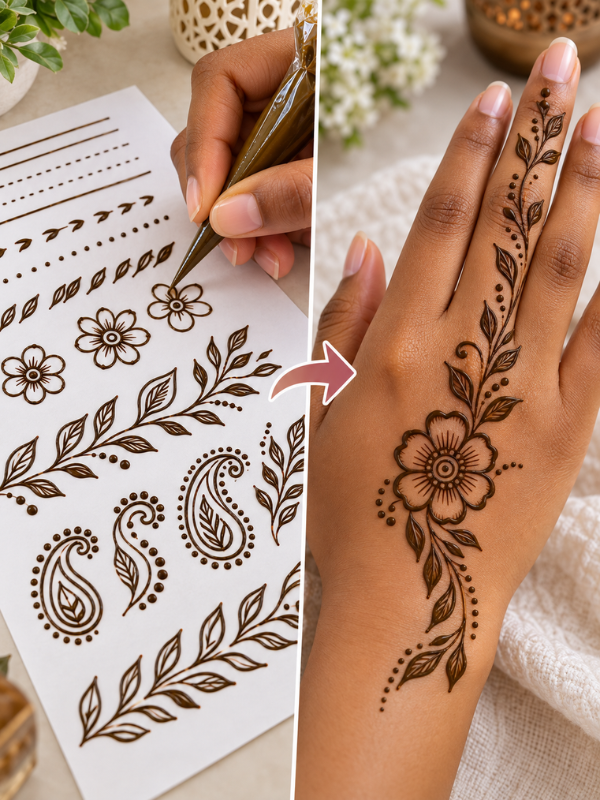
Before starting your design, practice a few basic movements on paper.
Try drawing:
- Straight lines
- Curves
- Dots
- Leaves
- Petals
- Circles
- Small paisleys
This helps you get used to the pressure needed for your henna cone.
It is also helpful to keep your cotton swabs and tissues nearby. That way, you can quickly clean up a fresh mistake.
Most importantly, do not rush.
Take breaks if your hand becomes tired. A shaky hand can make detailed henna work much harder.
Tools That Help Fix Henna Mistakes
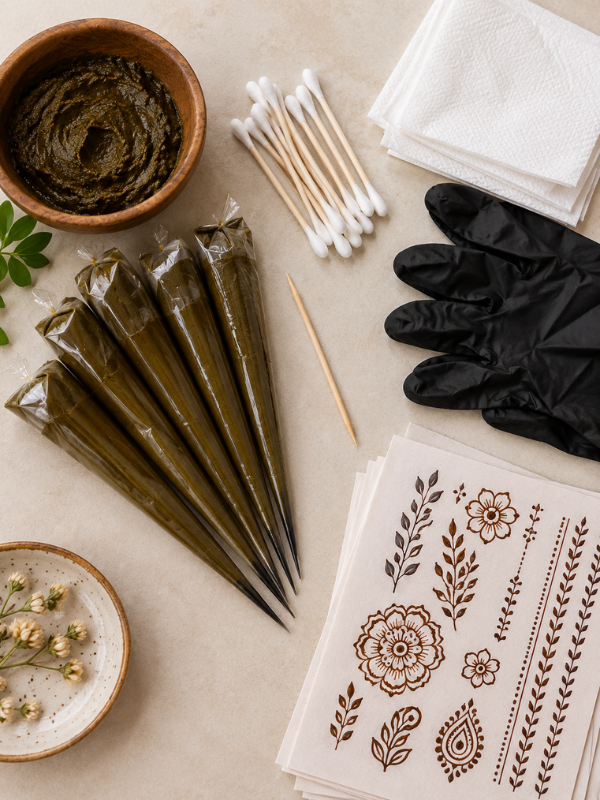
You do not need many tools to correct small henna mistakes.
Keep these nearby:
- Cotton swabs
- Clean tissues
- Henna cones
- A toothpick or fine applicator
- Clean water
- Practice paper
Cotton swabs are especially useful for picking up small amounts of fresh paste.
Practice paper is also helpful. You can test your cone before touching your skin.
When You Should Leave the Henna Alone
Sometimes the best way to fix a henna mistake is to leave it alone.
I know that sounds strange, but it is true.
If the mistake is very small, trying to remove it can create a bigger mess.
The same goes for a mistake that has already stained the skin. Scrubbing the area repeatedly will not make the stain disappear instantly.
Instead, continue with your design.
Add a few details around the area if needed. Once the full design is finished, the small imperfection may not even stand out.
Remember, handmade henna does not need to be perfectly symmetrical.
A little difference between one side and the other can make the design feel more natural.
Do not let one wrong line ruin your entire henna session.
If the paste is fresh, gently remove the mistake and redraw it. If it has started drying, be more careful. If the skin is already stained, try working around the area instead.
You can turn many small mistakes into flowers, leaves, dots, vines, or other decorative details.
Most importantly, avoid harsh scrubbing and scratching. Your skin should always come first.
With practice, you will also become better at controlling your henna cone. And honestly, the more you practice, the less scary those little mistakes become.
Your henna does not have to be perfect to be beautiful.
This Post Showed You How to Fix a Henna Design Mistake Without Ruining It
You may also like:
How to Make Henna Paste at Home for Beginners

3 Comments