Making your own henna paste at home is easier than it may seem. You only need a few simple ingredients and the right mixing technique. How to Make Henna Paste is also something worth learning if you enjoy creating your own henna designs. You can control what goes into your paste and make it fresh when you need it.
However, getting the right consistency can take a little practice. The paste should not be too thick or too watery. It should also be smooth enough to flow easily through a henna cone.
In this guide, I will show you how to make henna paste step by step. I will also share how to choose your henna powder, how long to let the paste rest, how to store it, and some common mistakes to avoid.
What You Need to Make Henna Paste
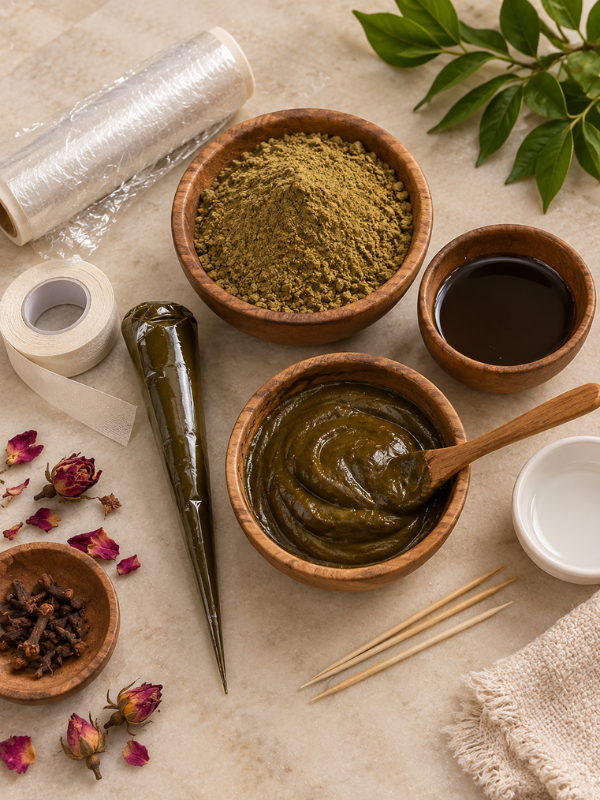
Before you start, gather everything you need. Having your ingredients ready makes the process much easier.
Here is what you will need:
- Natural henna powder
- Lemon juice or another suitable acidic liquid
- Sugar
- Skin-safe essential oil
- A clean mixing bowl
- A spoon or spatula
- Measuring spoons
- Plastic wrap or an airtight cover
- A henna cone for application
You do not need fancy equipment. A clean bowl and spoon are enough to get started.
The most important thing is the quality of your henna powder. Good ingredients will make a big difference in the final paste.
Choosing the Right Henna Powder
Not all henna powders are the same. Therefore, choosing the right one should be your first step.
Look for pure, natural henna powder. It should come from the henna plant and should not contain artificial dyes or unknown chemicals.
Fresh henna powder is usually a better choice. Old powder may have lost some of its staining power.
Also, check the ingredient list before buying. Avoid products that do not clearly tell you what is inside.
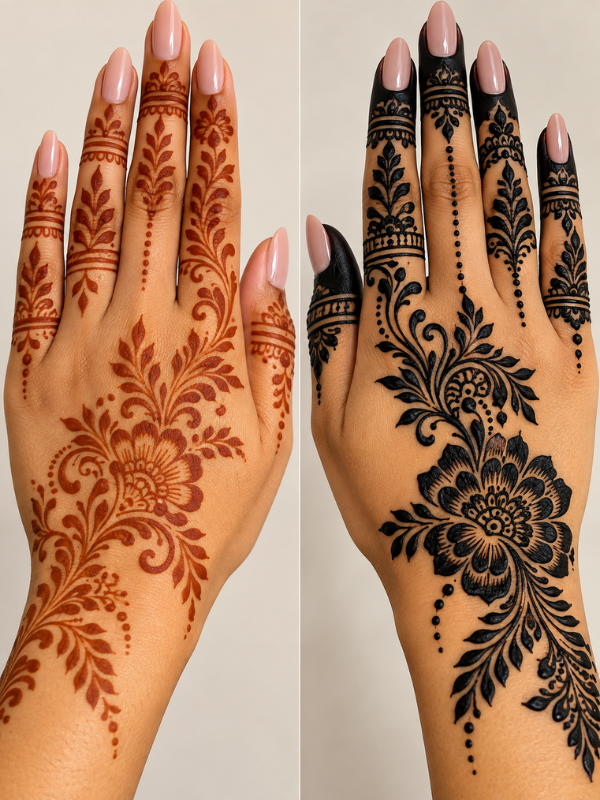
Natural henna usually gives an orange, reddish, or brownish stain. It does not create a jet-black stain on the skin.
This is important because products sold as “black henna” can contain ingredients such as PPD. These products can cause serious skin reactions.
How to Make Henna Paste Step by Step
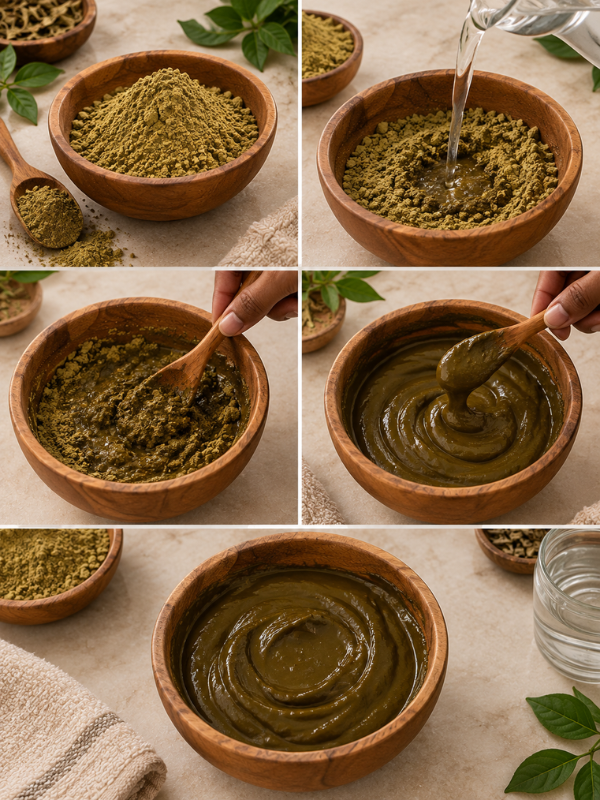
Now let’s get into the actual process.
The goal is to create a smooth paste that is easy to apply. Take your time with each step. There is no need to rush.
Step 1 Mix the Henna Powder
Start by placing your henna powder into a clean bowl.
Break up any lumps with a spoon. This will make it easier to create a smooth paste later.
You can start with a small amount if you are a beginner. There is no need to make a large batch until you are comfortable with the process.
Step 2 Add the Liquid Slowly
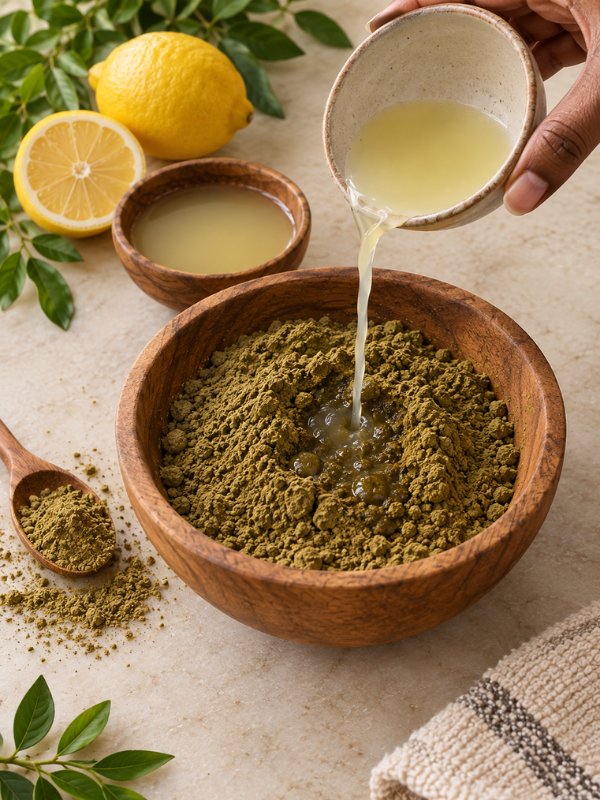
Next, add your lemon juice slowly.
Do not pour in all the liquid at once. Add a little, mix, and check the consistency.
Keep doing this until the powder starts coming together.
Adding the liquid slowly gives you more control. If you add too much at once, your paste can quickly become too watery.
If you do not want to use lemon juice, you can use another suitable liquid depending on your preferred henna recipe.
Step 3 Add a Small Amount of Sugar
Next, add a small amount of sugar.
Sugar can help make the paste more flexible. It can also help the paste stay on the skin instead of becoming too dry and flaky.
However, you do not need a lot. Too much sugar can make the paste sticky.
A little is enough.
Step 4 Add Essential Oil
You can also add a small amount of skin-safe essential oil.
Some henna artists use essential oils as part of their paste recipes because they can support stain development.
However, essential oils are concentrated. Therefore, do not pour in a large amount.
Make sure the oil you use is suitable for skin and properly diluted. If you have sensitive skin, be especially careful.
Step 5 Mix Until Smooth
Now mix everything together.
Keep stirring until you have a smooth paste with no large lumps.
At this stage, the paste should be thick but workable. It should not look like a liquid.
Think of a smooth paste that can eventually move through a small henna cone without too much pressure.
If it feels too thick, add a tiny amount of liquid.
If it feels too thin, add a little more henna powder.
What Consistency Should Henna Paste Have
Getting the consistency right is one of the most important parts of making henna paste.
Your paste should be smooth and easy to squeeze. It should move through the tip of the cone without constantly getting stuck.
If the paste is too thick, your lines may look uneven. You may also struggle to squeeze the cone.
If it is too thin, the lines can spread on the skin. The design may also lose its clean shape.
Therefore, aim for a smooth consistency that is thick enough to hold its shape but soft enough to flow.
Do not worry if you do not get it perfect on your first try. It takes a little practice.
How Long to Let Henna Paste Rest
After mixing your paste, cover the bowl tightly with plastic wrap or an airtight cover.
The paste needs time for the dye to release.
The exact time can vary depending on the henna powder, ingredients, and room temperature. Some batches may be ready sooner than others.
A warmer environment can also affect the process.
Instead of relying only on a specific number of hours, look for signs that your paste is ready. You can also do a small stain test to check how it is developing.
How to Test Your Henna Paste
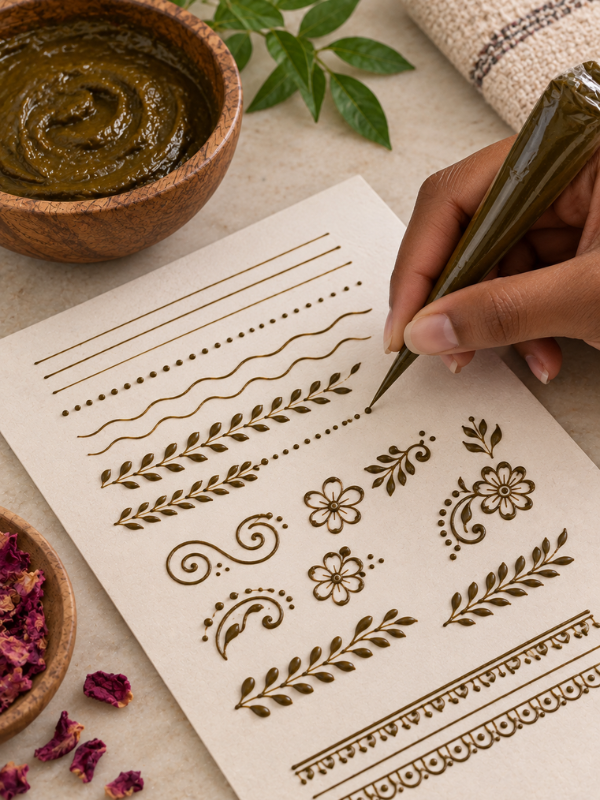
Before filling your entire cone, test a small amount of paste.
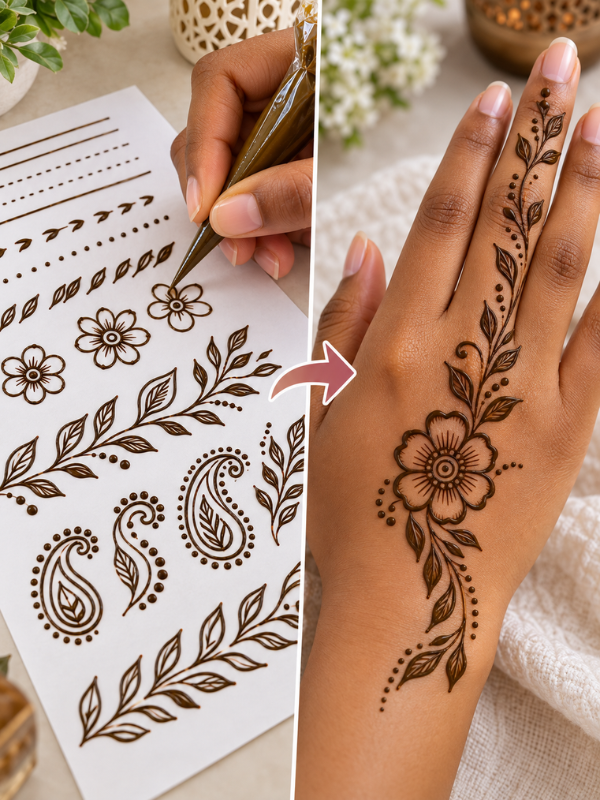
You can squeeze a little onto paper first. This helps you check the flow and consistency.
You can also do a small skin test when appropriate.
A test can help you notice problems early. For example, you may discover that the paste is too thick or that it needs more mixing.
It is much easier to fix a small batch before filling several cones.
How to Put Henna Paste Into a Cone
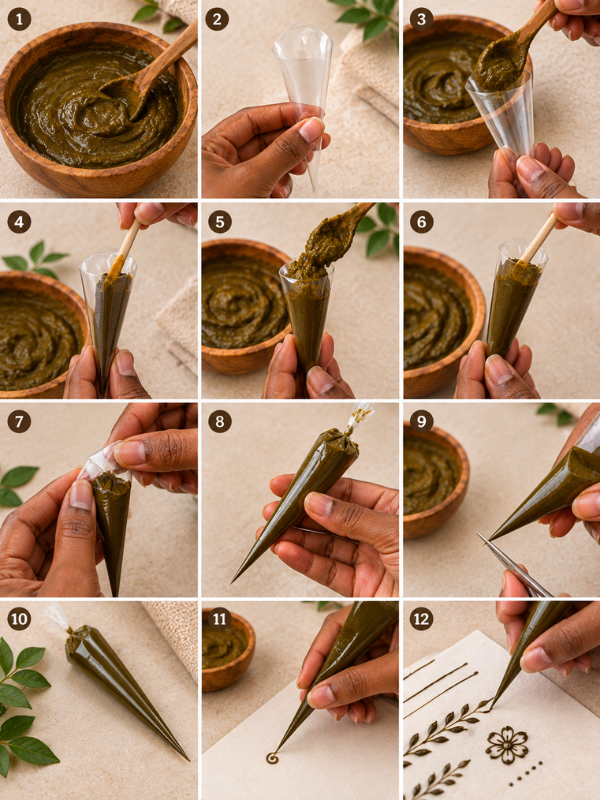
Once your paste is ready, you can transfer it into a henna cone.
This part can get messy. So, take your time.
Fill the cone without overfilling it. Leave enough space at the top so you can twist and seal it properly.
Try to avoid leaving large air pockets inside the cone.
Once it is filled, twist the top and seal it securely.
Before applying the henna to your skin, squeeze a little onto paper. This helps you check whether the paste is flowing properly.
If the first line is smooth, you are ready to start your design.
How to Get a Darker Henna Stain
Everyone wants that deep, beautiful henna stain.
However, the final color depends on several things. Your henna powder, paste, application, skin, and aftercare can all make a difference.
Start with fresh, quality henna.
Make sure your paste has released properly before using it.
When you apply the paste, try to keep the design on the skin for an appropriate amount of time. Let it dry naturally rather than washing it off immediately.
After removing the dry paste, avoid washing the area straight away if possible.
The stain may look light at first. That is normal.
Natural henna stains often develop and deepen over the next couple of days.
Common Mistakes When Making Henna Paste
Making henna paste is simple, but beginners can still run into a few problems.
Here are some common mistakes to avoid.
Using poor-quality henna powder
The quality of your powder matters. Start with pure, fresh henna whenever possible.
Adding too much liquid
This can make your paste too runny. Add liquid little by little instead.
Making the paste too thick
Very thick paste can be difficult to squeeze through a cone. Add a small amount of liquid if needed.
Skipping the resting time
Freshly mixed paste may not be ready to use immediately. Give it enough time for the dye to release.
Adding too much essential oil
Essential oils are concentrated. More does not mean better.
Using old henna powder
Old powder may not give the results you want. Check the age and storage of your powder.
Not testing the paste
Always test your paste before starting a large design. It can save you from a lot of frustration.
How to Store Homemade Henna Paste
If you make more paste than you need, you can store it.
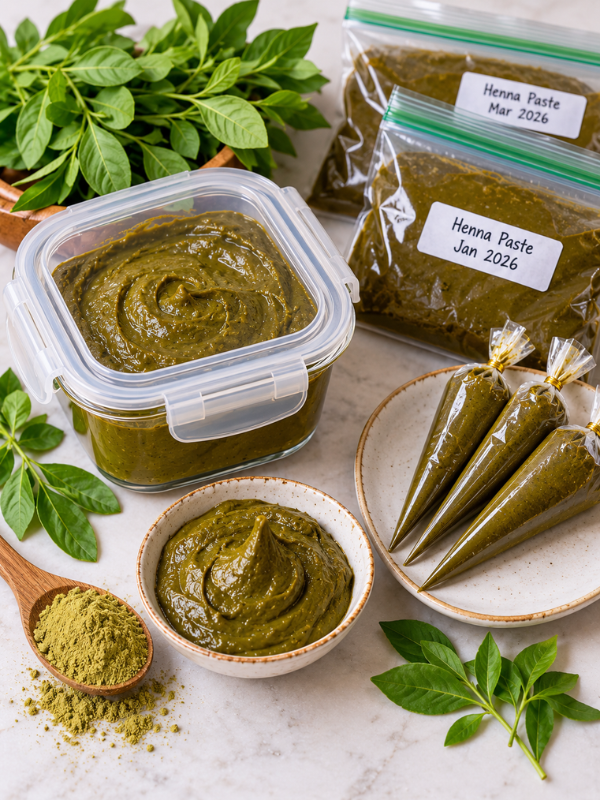
For short-term use, keep the paste in an airtight container and refrigerate it.
For longer storage, freezing is usually a better option.
You can also freeze filled henna cones. Just make sure they are sealed properly to prevent air from getting inside.
When you are ready to use frozen paste, allow it to thaw naturally.
Try not to repeatedly freeze and thaw the same batch. This can affect its quality.
How Long Does Homemade Henna Paste Last
Homemade henna paste does not stay fresh forever.
Its shelf life depends on the ingredients, temperature, and how it is stored.
Fresh paste kept at room temperature will generally have a much shorter useful life than paste kept frozen.
If you notice an unusual smell, mold, major color changes, or anything else that looks wrong, discard the paste.
When in doubt, it is better to make a fresh batch.
Is Homemade Henna Paste Safe
Natural henna can be used for body art, but you still need to be careful about the ingredients.
Always check your henna powder before using it.
Avoid products marketed as black henna, especially when the ingredients are unclear. Some black henna products can contain PPD, a chemical that can cause serious skin reactions.
Also, be careful with essential oils. They are concentrated and can irritate the skin if used incorrectly.
A small patch test is a good idea when trying a new ingredient or product.
Most importantly, never assume that a product is safe just because it is labeled “henna.” Always check what is actually inside.
Frequently Asked Questions
Can I Make Henna Paste Without Lemon Juice?
Yes. Lemon juice is only one option used in henna recipes. Other suitable liquids can be used depending on the recipe and the type of henna powder you have.
How Long Should Henna Paste Rest?
The resting time can vary. It depends on the henna powder, ingredients, and temperature. Check the manufacturer’s guidance when available and use a small stain test to judge your batch.
Can I Use Henna Paste Immediately After Mixing?
It is usually better to allow the paste time for the dye to release. Using it immediately may not give you the stain you expect.
Why Is My Henna Paste Too Runny?
You may have added too much liquid. Add a small amount of henna powder and mix well until the consistency improves.
Why Is My Henna Paste Cracking?
The paste may be drying too quickly. The amount of sugar and the consistency of the paste can also affect how it behaves on the skin.
Can I Freeze Homemade Henna Paste?
Yes. Freezing can help preserve henna paste for longer storage. Store it in a well-sealed container or cone.
How Do I Make Henna Paste Darker?
Start with fresh, quality henna and allow the paste to release properly. Good application and aftercare also matter. Keep in mind that natural henna develops its final color gradually.
Can I Use Essential Oil in Henna Paste?
Some henna recipes include skin-safe essential oils. However, essential oils are concentrated, so they should be used carefully and in appropriate amounts.
How Do I Know When My Henna Paste Is Ready?
A small stain test can help. You can also check that the paste has a smooth consistency and flows easily through your cone.
Learning How to Make Henna Paste at home does not have to be complicated.
Start with fresh, natural henna powder. Add your liquid slowly. Mix in a little sugar and, if you choose, a suitable skin-safe essential oil.
Most importantly, pay attention to the consistency.
Your first batch may not be perfect. That is completely okay. The more you practice, the easier it becomes to recognize when the paste looks and feels right.
Once you get the basics down, you can make your own henna paste whenever you want to practice or create beautiful henna designs at home.
This Showed You How to Make Henna Paste at Home for Beginners
You may also like:
2 Comments