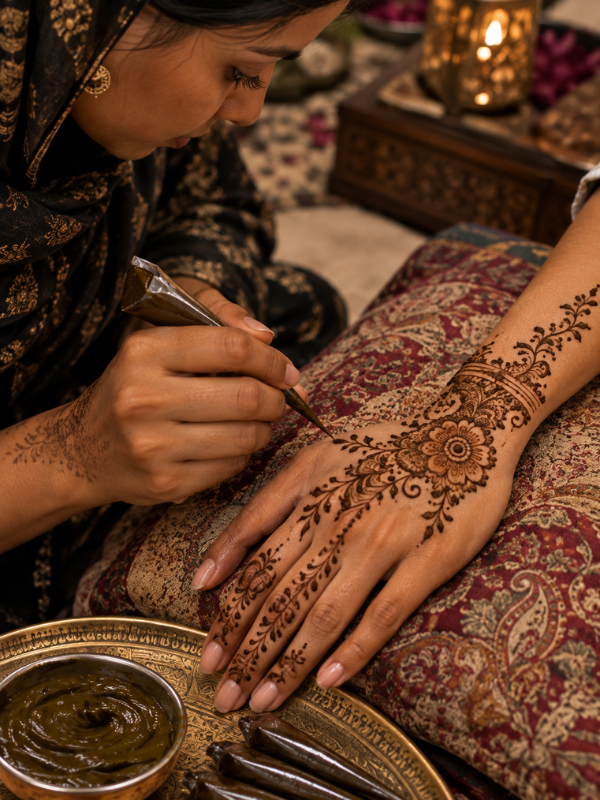
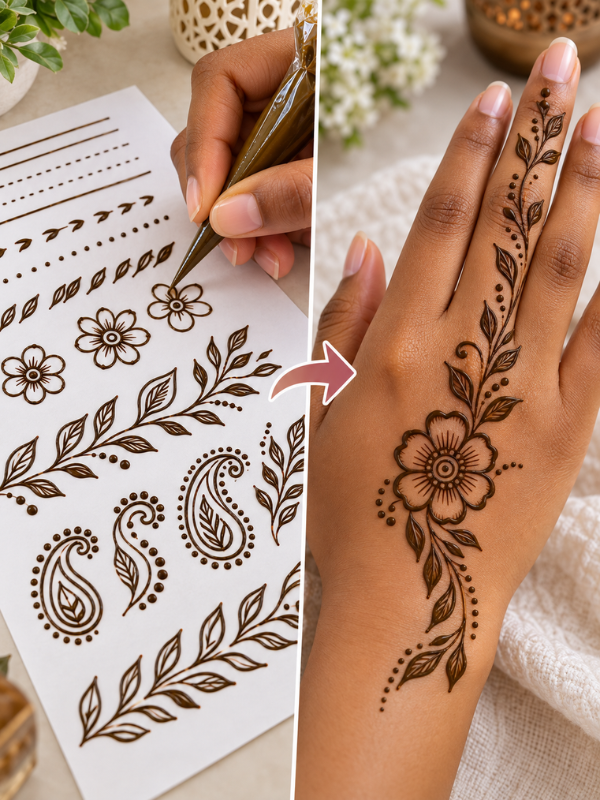
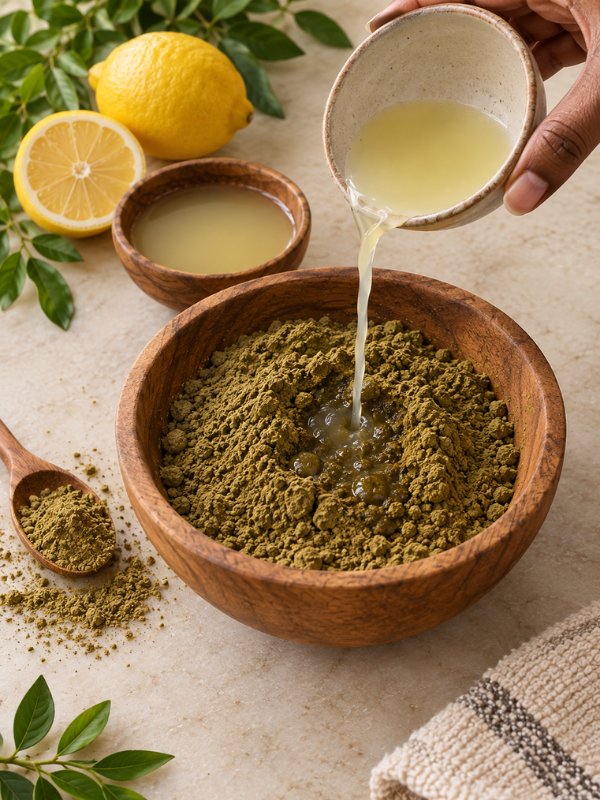
Doing henna at home can be fun and relaxing. You do not need a large collection of tools to get started. In fact, a few basic Henna Supplies are enough for simple designs.
If you are new to henna, it is easy to feel confused by all the cones, bottles, powders, and other tools available. However, you really only need the basics at first.
In this guide, I will share what you need to do henna at home. I will also explain what each item is used for and which supplies you can skip as a beginner.
What Do You Need to Do Henna at Home?
You only need a few basic items to start doing henna at home. These include henna powder or fresh henna paste, henna cones, gloves, tissues, and a clean workspace.
If you are making your own paste, you will also need a small mixing bowl and spoon. A few extra items can make the process easier, but they are not required.
Here are the main supplies to have ready:
- Henna powder or fresh henna paste
- Henna cones
- A small mixing bowl
- A mixing spoon
- Gloves
- Tissue or paper towels
- A clean workspace
- Practice paper
- Design references
- Optional storage and application tools
You can start small. There is no need to buy everything at once.
1. Fresh Henna Powder
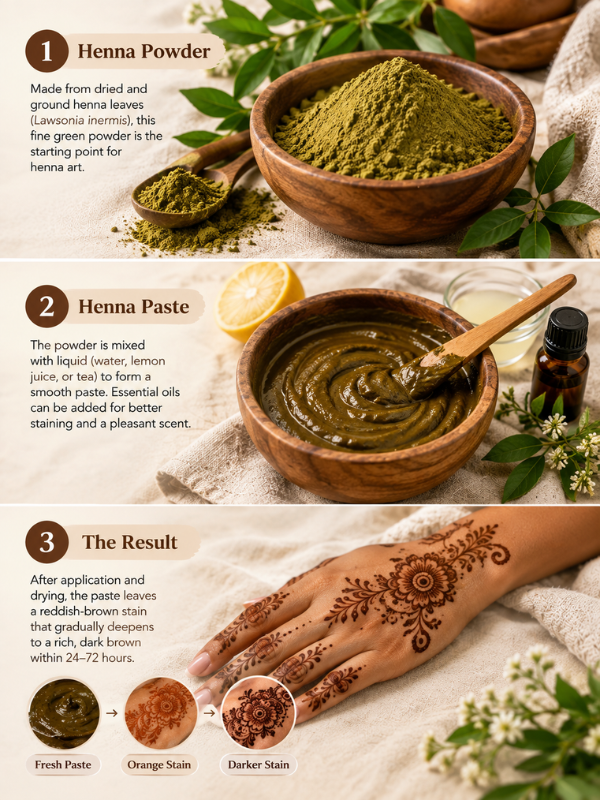
Fresh henna powder is one of the most important Henna Supplies if you want to make your own paste.
Look for henna powder that is made for body art. The powder should be fresh and stored properly. Fresh powder usually gives better results than old powder.
You should also pay attention to what the product is made for. Some henna products are made for hair. These are not automatically suitable for skin.
If you are new to henna, always check the label before buying.
2. Henna Paste
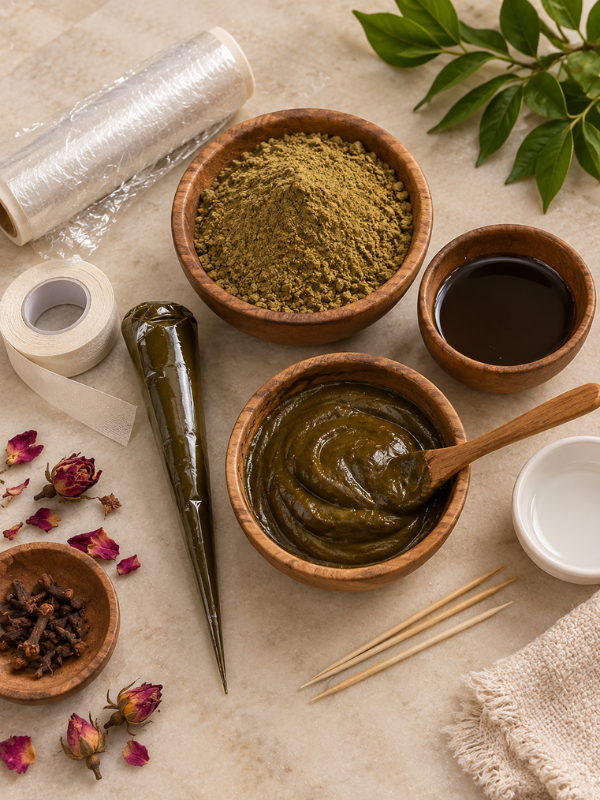
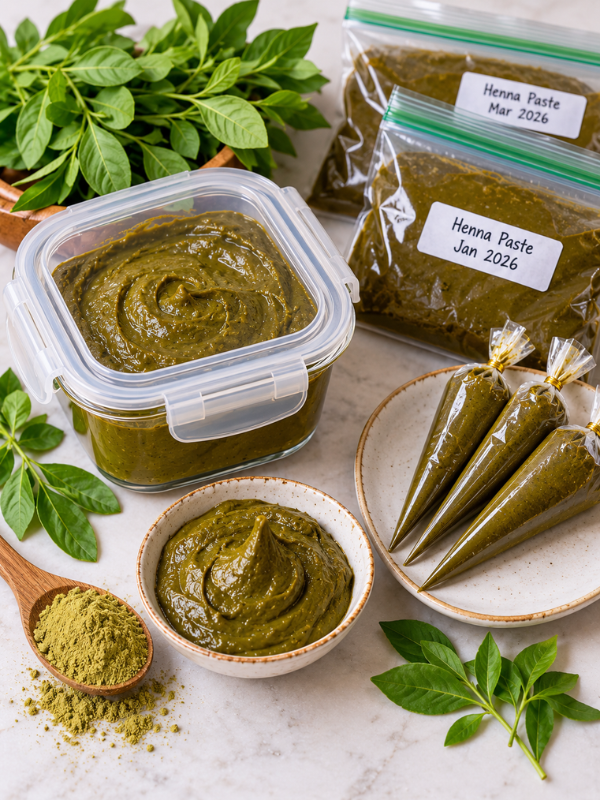
You can either make your own henna paste or buy ready-made paste.
Ready-made paste is a simple choice for beginners. It saves time and removes the guesswork of mixing powder.
However, making your own paste can be useful if you want more control over the ingredients and consistency.
Your paste should be smooth enough to come out of the cone easily. It should also be free from large lumps.
If you make fresh paste, proper storage is important. Henna paste can lose its quality if it is left out for too long.
3. Henna Cones
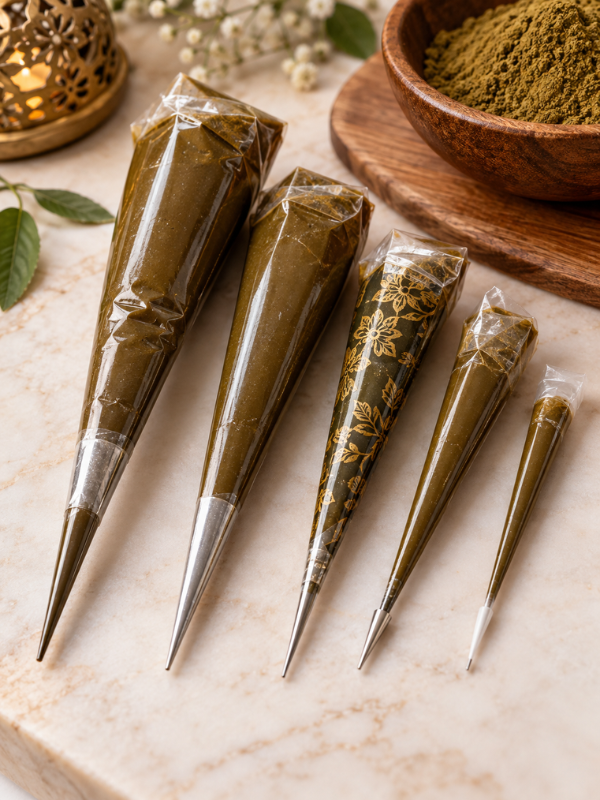
Henna cones are another important item on your list of Henna Supplies.
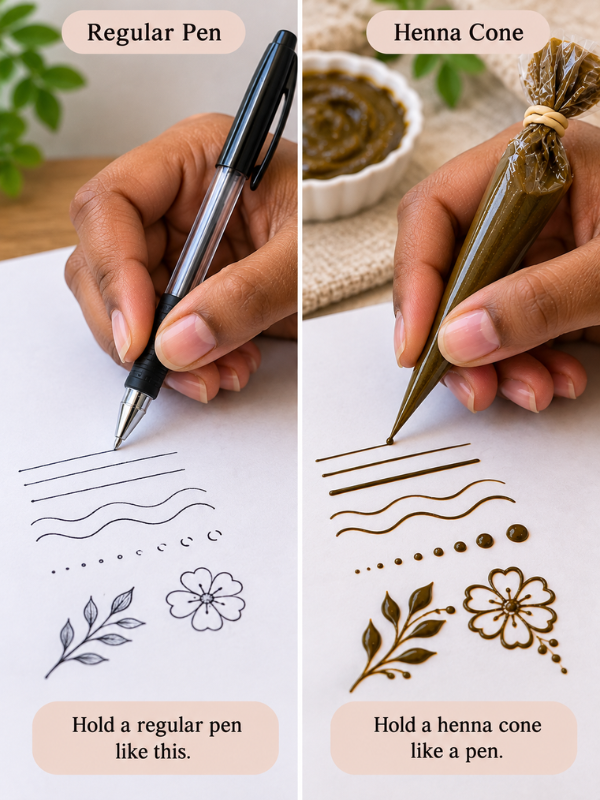
The cone is what you use to draw your design. It allows you to control the amount of paste that comes out as you draw.
A good cone should feel comfortable in your hand. The tip should also be cut neatly.
A very large opening can make thin details difficult. On the other hand, an extremely tiny opening may make the paste harder to squeeze out.
If you are a beginner, practice with the cone before applying henna to your skin.
Try making:
- Dots
- Straight lines
- Curved lines
- Leaves
- Small flowers
- Paisleys
- Simple borders
These little exercises can make a big difference.
4. Henna Applicator Bottle
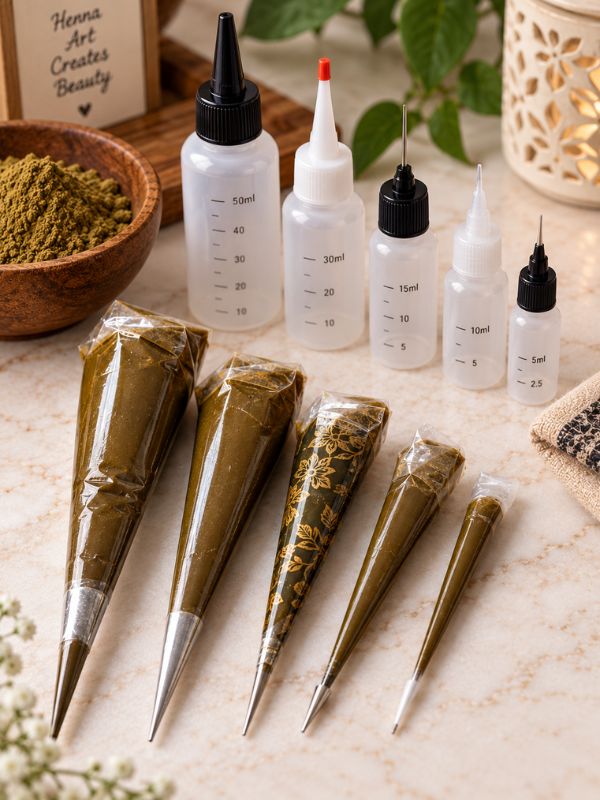
A henna cone is not your only option.
Some people prefer applicator bottles. These bottles usually come with different tips that control the flow of the paste.
An applicator bottle can be useful if you want more control over your lines. However, it is not something you must buy when starting.
If you already have good henna cones, you can simply use those.
5. Mixing Bowl and Spoon
If you plan to make your own henna paste, you will need a small bowl.
Choose a bowl that is easy to clean. You do not need anything fancy.
You will also need a spoon or small spatula for mixing.
Make sure your tools are clean before you begin. This helps keep your workspace neat and makes the mixing process easier.
These are simple Henna Supplies, but they are useful if you enjoy preparing your own paste.
6. Essential Oils
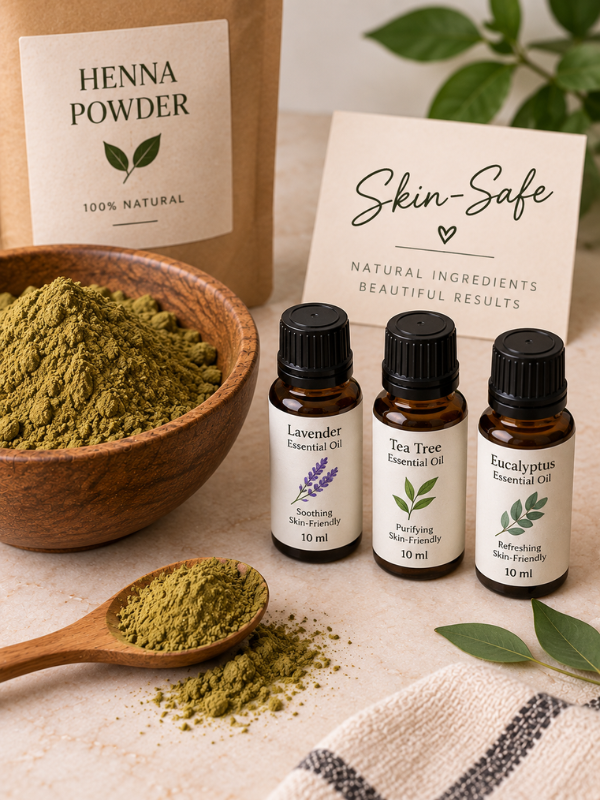
Some henna recipes include essential oils. They may be added as part of the paste-making process.
However, you should not use just any essential oil on your skin.
Some oils can cause irritation. Others may not be suitable for topical use.
If you are making your own paste, use ingredients that are known to be suitable for skin. If you are unsure about an ingredient, it is better to leave it out.
For beginners, ready-made paste can also make things much easier.
7. Gloves
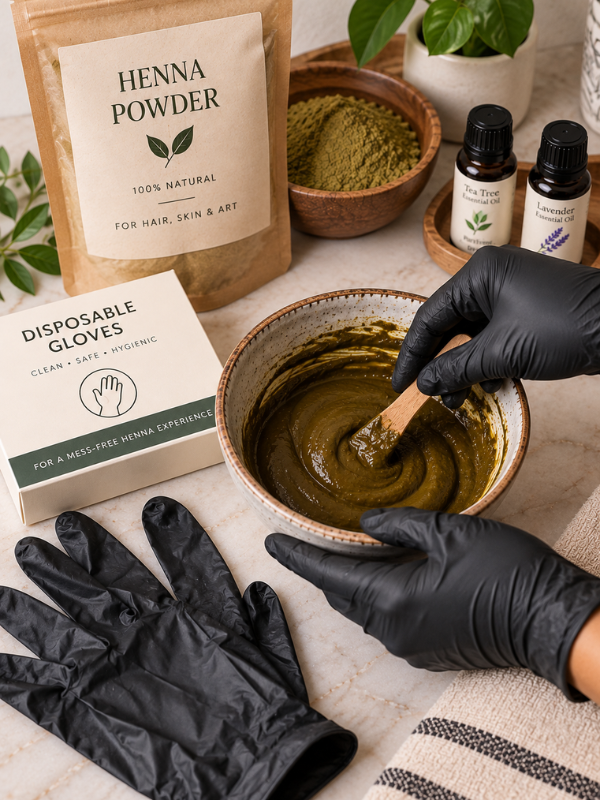
Gloves are helpful when working with henna.
Henna can stain your hands. This can be a problem when you are trying to apply a design to someone else.
Gloves also make mixing paste less messy.
You do not need expensive gloves. A simple pair of disposable gloves can work well.
Keep an extra pair nearby too. You never know when you might need them.
8. Tissue or Paper Towels
Tissues may seem like a small detail, but they are one of the Henna Supplies I would always keep nearby.
You can use them to clean the tip of your cone. They are also useful for wiping small mistakes.
Sometimes a little paste comes out too quickly. Having tissue nearby allows you to clean it before it spreads.
I recommend keeping several pieces beside you before you start.
It is much easier than stopping in the middle of a design to look for something to clean your hands.
9. Plastic Wrap or Medical Tape
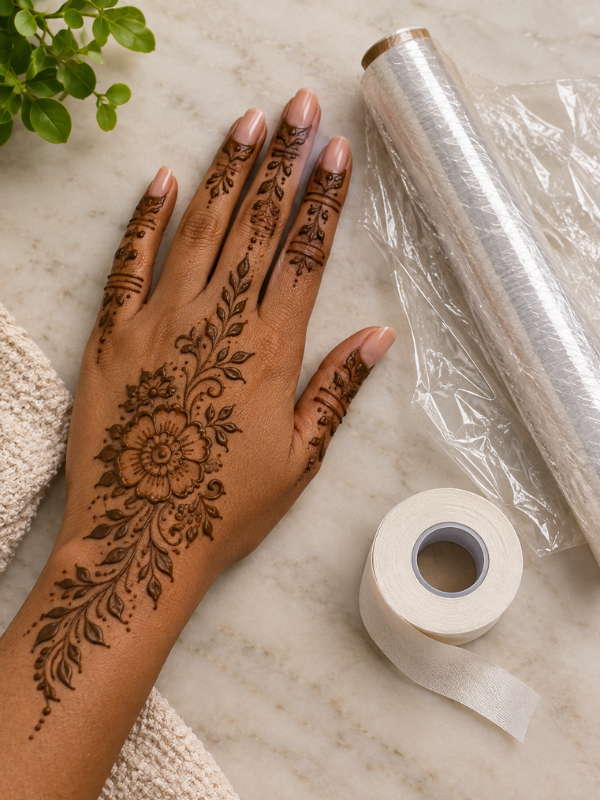
Plastic wrap can sometimes be useful during henna aftercare.
Depending on the paste and the aftercare method you use, you may want to protect fresh henna from rubbing against clothing or other surfaces.
However, you do not always need plastic wrap.
Do not feel like you have to buy every item you see in a henna kit. Start with the basics and add things as you learn what works for you.
10. A Clean Workspace
Your workspace is just as important as your Henna Supplies.
Choose a flat and comfortable surface. Make sure there is enough space for your cone, tissues, design references, and other items.
Clean the surface before you start.
You should also have good lighting. Natural light is great during the day. At night, use a bright lamp so you can clearly see the details of your design.
A clean and organized space can also help you concentrate.
11. Practice Paper
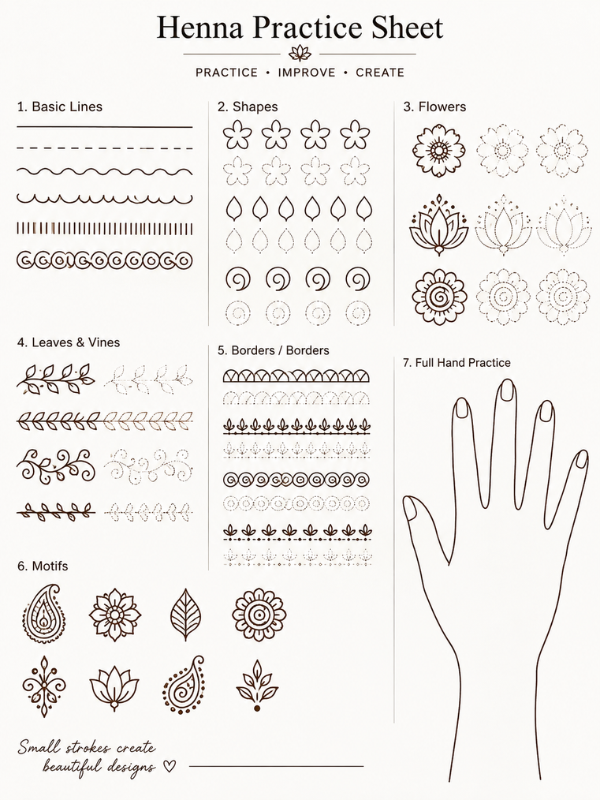
Practice paper is one of the best supplies for beginners.
You do not need anything expensive. Plain paper can work perfectly well.
Before applying henna to skin, practice squeezing the cone gently.
Start with simple shapes. Try making small dots first. Then move to lines, leaves, flowers, and paisleys.
You can also practice repeating the same design several times.
This helps you learn how much pressure to use.
With practice, your lines will become more even and controlled.
12. Design References
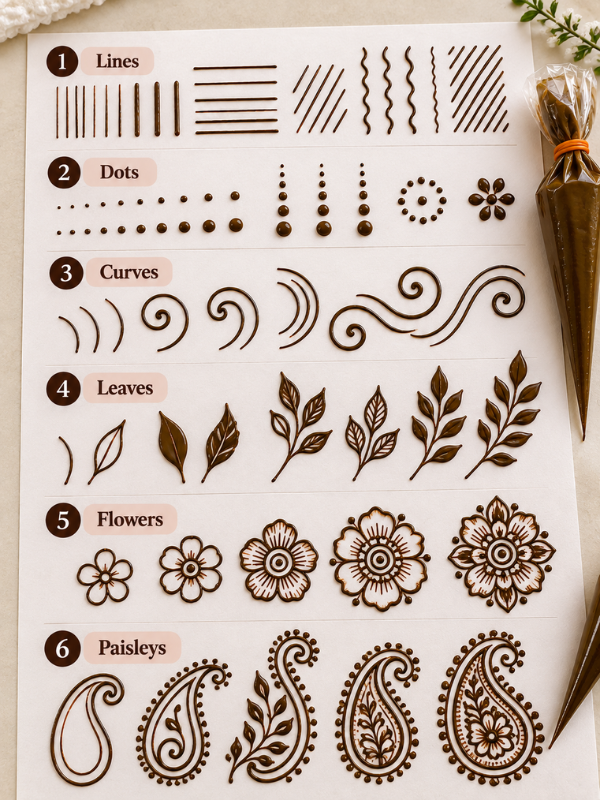
Having a few henna designs nearby can make the process easier.
You can save designs that you like on your phone or create a small folder of your favorite patterns.
As a beginner, start with simple designs.
Look for patterns that include:
- Leaves
- Flowers
- Paisleys
- Vines
- Dots
- Simple mandalas
- Finger patterns
- Small borders
You do not have to copy a complicated design right away.
Start small. Once you feel comfortable, you can slowly move on to more detailed patterns.
What Henna Supplies Are Optional?
There are many henna tools available today. However, not all of them are necessary.
Some optional Henna Supplies include:
- Applicator bottles
- Fine tips
- Stencils
- Practice hands
- Cone holders
- Small storage containers
- Extra mixing tools
- Design books
These can be useful later.
However, I would not recommend buying everything when you are just starting. Learn how to use the basic supplies first.
You may discover that you do not need some of the extra tools at all.
Henna Supplies You Can Skip as a Beginner
Starting a new hobby can make you want to buy everything at once.
I get it.
But you really do not need a huge henna kit.
You can start with:
- Good henna paste
- A few henna cones
- Gloves
- Tissue
- A clean workspace
- Practice paper
That is enough to begin learning.
As your skills improve, you can decide which extra tools are worth buying.
This can also save you money.
How to Set Up Your Henna Supplies Before Starting
Before you start drawing, take a few minutes to prepare everything.
First, clean your workspace.
Then, place all your supplies where you can easily reach them.
If you are using homemade paste, prepare it ahead of time according to your chosen recipe.
Next, check your henna cone. Make sure the tip is open and that the paste flows properly.
Keep tissues nearby.
Have your design reference ready.
Finally, practice a few lines before starting on the skin.
Your skin should also be clean and dry before applying henna.
A little preparation can make the whole process feel much easier.
Henna Safety Tips for Beginners
Safety is an important part of choosing your Henna Supplies.
Always choose products that are intended for use on skin.
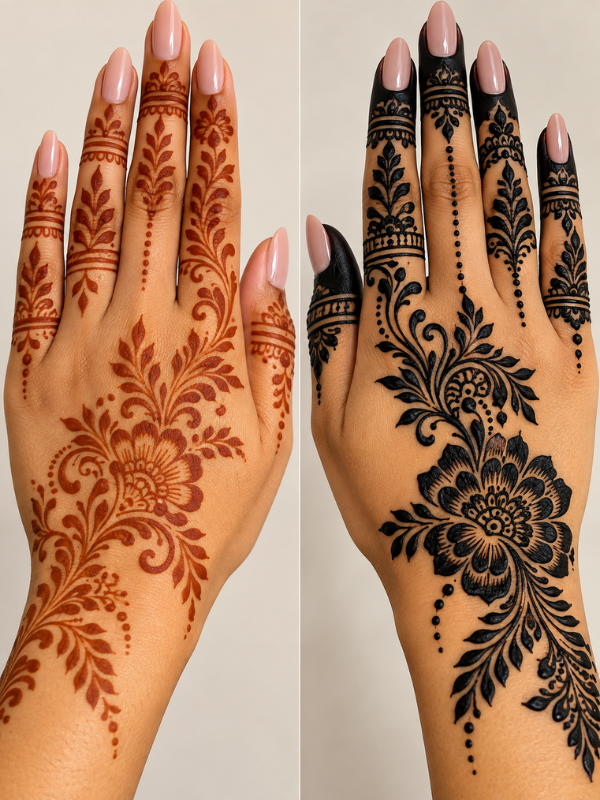
Be especially careful with products sold as “black henna.” Some black henna products may contain ingredients that can cause serious skin reactions.
Do not assume that every product labeled henna is safe for skin.
Check the ingredients when possible. Also, avoid applying henna to broken, irritated, or damaged skin.
If you are using a new product, follow the manufacturer’s safety instructions and consider appropriate skin testing before a larger application.
When in doubt, choose a simple, clearly labeled body-art henna product.
Simple Henna Supplies Checklist
If you are preparing for your first henna session, this checklist can help.
Essential Henna Supplies
- Henna powder or fresh henna paste
- Henna cones
- Mixing bowl
- Mixing spoon
- Gloves
- Tissue or paper towels
- Clean workspace
Optional Henna Supplies
- Practice paper
- Applicator bottle
- Fine tips
- Plastic wrap
- Practice hand
- Design references
- Small storage containers
You can save this list before shopping. It will help you focus on what you actually need.
Can You Do Henna at Home With Basic Supplies?
Yes, you can.
You do not need a professional studio or a large collection of tools.
A good henna paste, a comfortable cone, clean skin, and a little practice are enough to get started.
The most important thing is learning how to control your cone.
Once you understand how much pressure to use, simple designs become much easier.
How Can Beginners Practice Henna at Home?
Start on paper.
Practice making small dots and lines. Then combine them to create simple flowers, leaves, vines, and paisleys.
Do not worry about making everything perfect.
Your first few designs may look uneven. That is completely normal.
Keep practicing. Over time, you will notice that your lines become cleaner and your hand becomes steadier.
You can also practice on a practice hand if you want something that feels more like working on real skin.
Final Thoughts on Henna Supplies
You really do not need many Henna Supplies to start doing henna at home.
The basics are simple. Get good henna paste or powder, a few cones, gloves, tissues, and a clean place to work.
If you are making your own paste, add a mixing bowl and spoon.
Then, keep practicing.
As you become more comfortable, you can experiment with other tools and supplies. However, there is no need to rush out and buy everything at once.
Start with the basics. Learn how your henna flows. Practice simple designs. Most importantly, enjoy the process.
Henna is one of those skills that gets better with patience and practice.
This Post Showed You What You Need to Do Henna at Home
You may also like:
How to Practice Henna Designs Before Drawing on Skin